Create an IIS Deploy Tutorial Website
Before we can deploy our website to IIS we will need to create a tutorial website on our web server. For this tutorial I am creating a website called DeployTutorial that will be mapped to port 100 on my web server.

Create a Deploy Stage in Continua
Now that we have our Web Application building successfully, we need to do a bit of rearranging of our build workflow in Continua. Currently we only have one stage called Build, however what we really want is two stages broken up into the following functionality:
- Build Stage: This stage will be responsible for building our Web Application solution, running any unit tests, coverage tests, etc. Basically, the build stage should be responsible for building our project and checking that our project is ready to be deployed.
- Deploy Stage: The deploy stage, which will run straight after the Build Stage, will be responsible for packaging and deploying our Web Application to our deployment server.
Why Split our Build over 2 Stages?
By splitting our build into a Build and Deploy stage we are compartmentalising our build into two seperate processes. For a standard build process, you would never want to deploy your website unless your solution compiled correctly, passed all unit tests, etc. By breaking your process into two separate stages, you can use Stage Gates to fail the build if any of these tests fail.
By default, once a stage completes successfully it will automatically start executing the next stage of the build. This may not be ideal if you are pushing to your live environment and you have a build being triggered off every check-in made to your Version Control System. If this is the case then you edit your Build Stage and prevent it from automatically promoting to the Deploy stage. This means that you can still automatically build every checkin but it will never deploy to the live site until it is manually promoted by a Continua user that has permission to promote stages.
Create a Deploy Stage
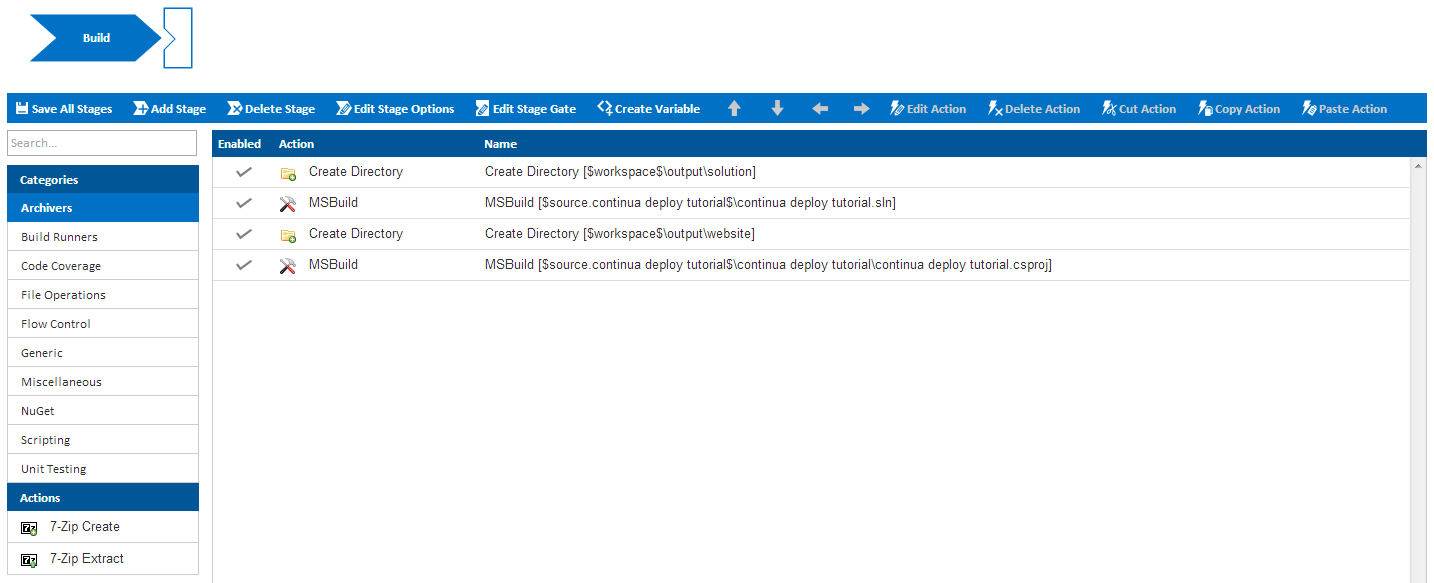
Navigate back to your Workflow editor and click Add Stage to create a new stage after our Build stage.
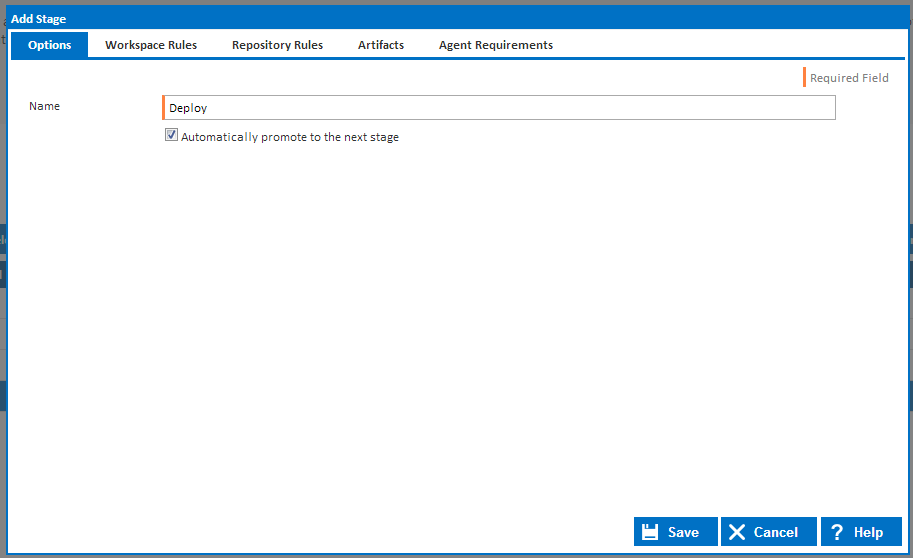
This will bring up the Add Stage Dialog as shown below. There are plenty of options and rules that can be set for a stage but for now we only need to worry about the Stage Name. So lets call our new stage Deploy and then save the stage.
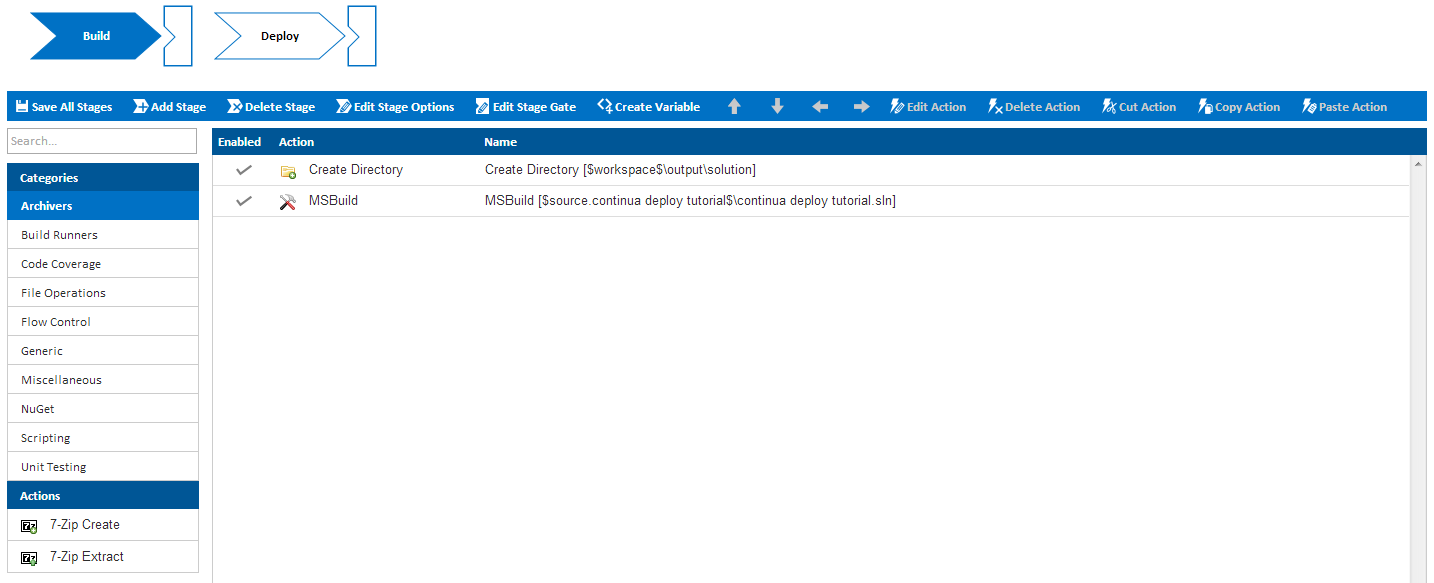
Once you have saved your stage, you should now see your two stages, Build and Deploy, listed across the top of the page. You may notice that when the Deploy stage is selected, our actions disappear! When the Deploy stage is selected, we are shown the workflow editor for the Deploy stage. If you select the Build stage, you will then see all our previously created actions as they belong to the Build stage workflow.

Move our Deploy Actions to the Deploy Stage
Now that we have a deploy stage, lets move our second Create Directory action and our second MSBuild action to our deploy stage. Make sure that the actions you copy over are the actions that are responsible for building the Web Application .csproj file, not the .sln file.
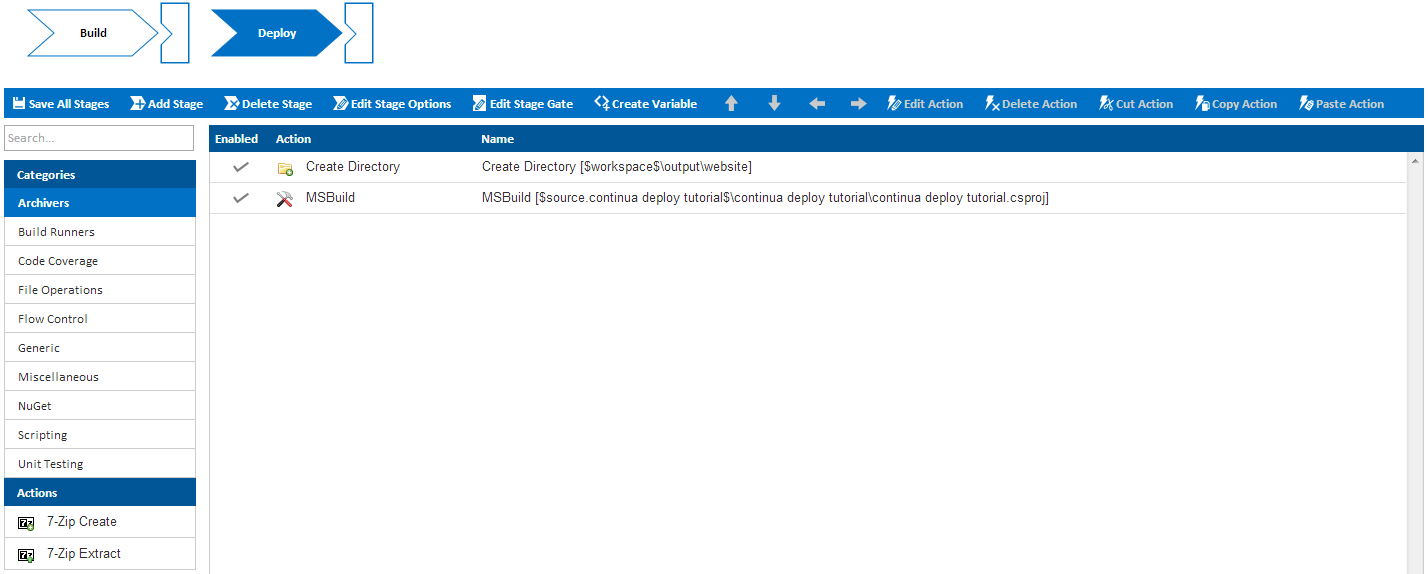
These actions can be moved over to the deploy stage by selecting the action and using the Cut Action and Paste Action buttons to transfer them over to the second stage. Once the actions have been copied over, you should have two stages that look like this:
Your Build Stage:
Your Deploy Stage:
Deploying our Web Application
Now that we have split our build process over two stages, we will need to change our MSBuild action so that it also deploys our project. Select the Deploy Stage and double click our MSBuild action to edit it.