The File Transfer Action is used to transfer packages or application files to a remote server. The action allows for four protocols, FTP, FTPS implicit, FTPS explicit and SFTP. The action also allows for proxying the connection and setting of the accepted TLS settings when they are applicable.
Some firewalls are designed to snoop known FTP ports to work out what secondary data ports they need to allow through the firewall. With the secure transmission versions protocols FTP these firewalls are unable to workout these ports resulting in the connection failing with a data port error. A typical solution is to limit the number of data ports opened by the server and then configure the firewall to allow these ports.
File Transfer
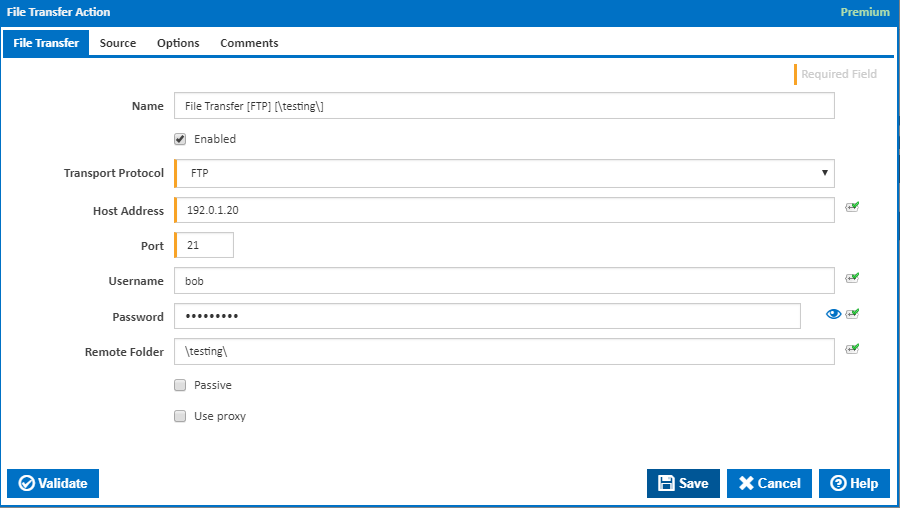
Name
A friendly name for this action (will be displayed in the actions workflow area).
Enabled
Determines if this action will be run within the relevant stage.
Transport Protocol
The action allows for the use of FTP, FTPS Explicit, FTPS Implicit, SFTP. Each providing certain capabilities and levels of security. The continua file transfer action has the following capabilities with each.
- FTP - Allow for a user login or anonymous login (by not providing a password). Note that FTP is not recommended as it is not secure.
- FTPS Implicit - Allows for connection to a host that allows both plain FTP and TLS secured connection. The action provides options for selecting the TLS version, cipher suites, and certificates which the action should accept from the server.
- FTPS Explicit - Allows for connection to a host that requires a TLS secured connection. As with FTPS Implicit the action allows configuration of the cipher suites, and accepted certificates used for the connection.
- SFTP - Allows for connection to a SSH host which also allows file transfer. In this mode the action allows setting of the key validation method.
Host Address
The host where the files are to be transferred. Can be the host DNS name, URL, or IP4 Address.
Port
The port that the host is listening on for the protocol selected. Standard ports for each protocol are:
- FTP: 21
- FTPS Explicit: 21
- FTPS Implicit: 990
- SFTP: 22
Some servers do use non-standard ports for a variety of reasons, please check with your provider.
Username
The name of the user to login as on the host machine. This can be blank as some file transfer services do not require a username or password to be provided. If a username is required you will receive an error from the action stating that a login is required by the host.
Password
The matching password for the supplied username. This can be blank as some file transfer services do not require a username or password to be provided. If a password is required you will receive an error from the action stating that a login is required by the host.
Note that if the password contains a $ or % they will need to be escaped as these are identifiers for objects and variables in Continua.
Remote Folder
The folder on the remote machine to which the files will be uploaded. Note that this is based on the hosts base directory for the user. Therefore the folder selected with be a subdirectory of the home or start directory of the user login provided. This will be the folder under which all source files will be copied up. The folder structure of the source location will be replicated in the target hosts folder.
Passive
Tick to enable passive file transfer protocol.
Use Proxy
Tick to make the tab 'Proxy' visible.
Source
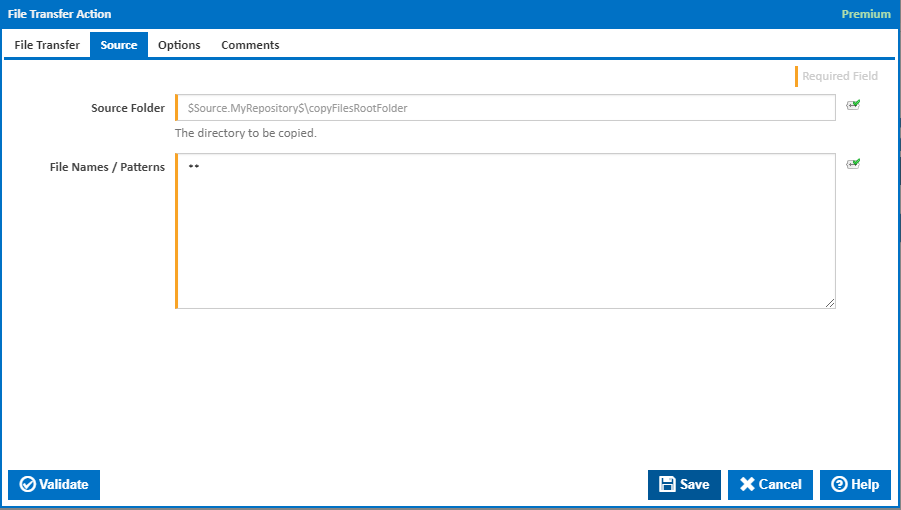
Source Folder
The folder location of all the files and folder to be uploaded to the host folder. This is typically a workspace location such as "$Workspace$\Output\" (without the quotes). This will then supply the workspace folder (which is different for each agent and build) to the action as the location of files to upload.
File Names / Patterns
Each file/pattern must be entered on a new line. You can specify an exact file with its path or you can use pattern matching.
You can exclude files by prefixing the file name or pattern with a dash. e.g -*.ignore. Exclude patterns always take precedence over include patterns
More information about pattern wild cards can be found on the Ant Pattern Usage page.
Proxy

Proxy Type
The proxy types handled by the File Transfer action are:
- Socks4
- Socks4a
- Socks5
- Http Connect
The type of proxy connection will be determined by the proxy server in use. Please talk to your network administrator as to which proxy server your company uses.
Host Name
The host name to proxy the file transfer connection through. Can be the host DNS name, URL, or IP4 Address.
Port
The port to use on the proxy for the file transfer connection. This will depend on the configuration of the proxy server in question. For this reason is highly recommend to talk to your network administrator or proxy provider as to what settings are required for your particular file transfer.
Username
The username required to access the proxy. Some proxies require authentication to make sure your allowed to tunnel your connects through them. If the username is left blank then no username or password is used for connecting to the proxy.
Password
The password required to access the proxy. This password should match the username provided for the proxy. The password is encrypted on the system, and once entered will not be readable when editing the action.
Proxy Authentication Method
The type of authentication the proxy server requires. The action allows for the following proxy authentication settings:
- Basic
- Ntlm
- Digest
TLS/SSL
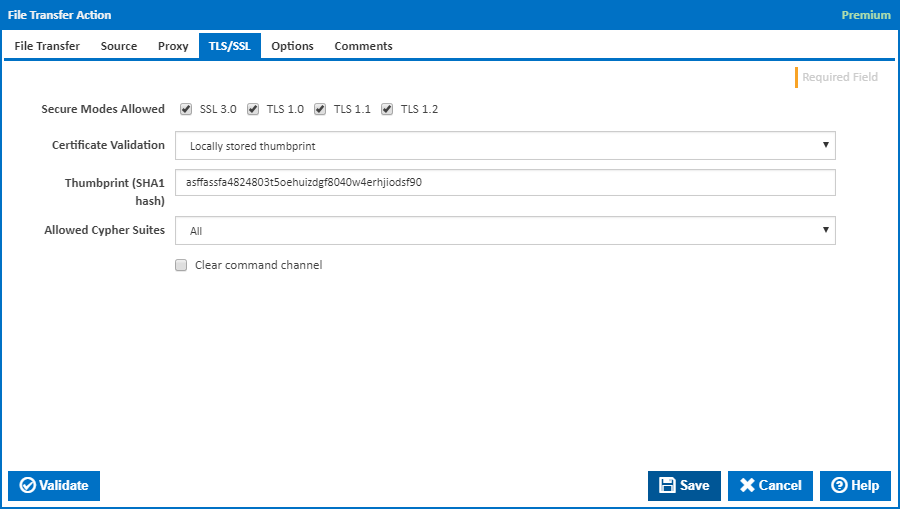
Secure Modes Allowed
The file transfer action allows for the following TLS protocols to be accepted when connecting to the host:
- SSL 3.0
- TLS 1.0
- TLS 1.1
- TLS 1.2
Note that these options only become available when a TLS based file transfer protocol is selected, namely the FTPS protocols. Please check with your host FTPS provider as to which TLS protocols to use. Depending on the configuration of the host certain protocols might not be allowed, or would provide better security for the connection. When running the action will attempt to select the highest security protocol as a default, and log which one was used.
Certificate Validation
The file transfer action allows the following certificate verification methods.
- Accept any certificate - This option will accept any certificate the server presents to the connection. This might be used if the certificate is unknown, or handling the validation is not possible on the Continua agent machine.
- Use windows infrastructure - This option uses the windows certificate store to validate the certificate presented by the host. If the host certificate chain is not trusted by the windows key store on the agent machine then the connection will be rejected.
- Locally stored thumbprint - Typically the simplest to setup, a thumbprint of the hosts certificate is stored with the action. To obtain a thumbprint ask your host provided to generate a thumbprint of their services certificate, or use an ftp client which presents it to you on connection.
- Reject certificates - Typically not used, but included to allow for user testing of rejecting certificates. This option will simply reject any certificate supplied and terminate the connection. In turn failing the action.
Thumbprint (SHA1 hash)
When using the certificate validation method of "Locally stored thumbprint" this option will appear. It stores the thumbprint of a certificate which is valid to accept.
Allowed Cypher Suites
This allows for the setting of the cipher suites to use in securing the connection. The options available are:
- None - Do not allow any cipher suites to be used in securing the connection. Typically a server will not allow a cipher suite to not be chosen (as the connection would not be secured) and will drop the connection. Typically this option is not used in production.
- Anonymous - This allows for any of the anonymous ciphers to be chosen to secure the connection. For example "Anonymous DES in CBC mode with SHA-1 hash" is one cipher which fits into this category.
- Secure - This allows for any of the cipher suites that are considered secure to be selected. This is the best option for securing the connection.
- All - This option allows for all cipher suites known to the file transfer action to be allowed to be used. This option can be chosen if the cipher suite to use is unknown, or a broader set of suites is required that isn't covered by one of the above.
Clear Command Channel
This option means the file transfer action will clear the command channel on the secure connection after login. Some servers require this to function correctly. If your experiencing any login errors where the server is reporting unexpected commands please turn this option on.
SSH
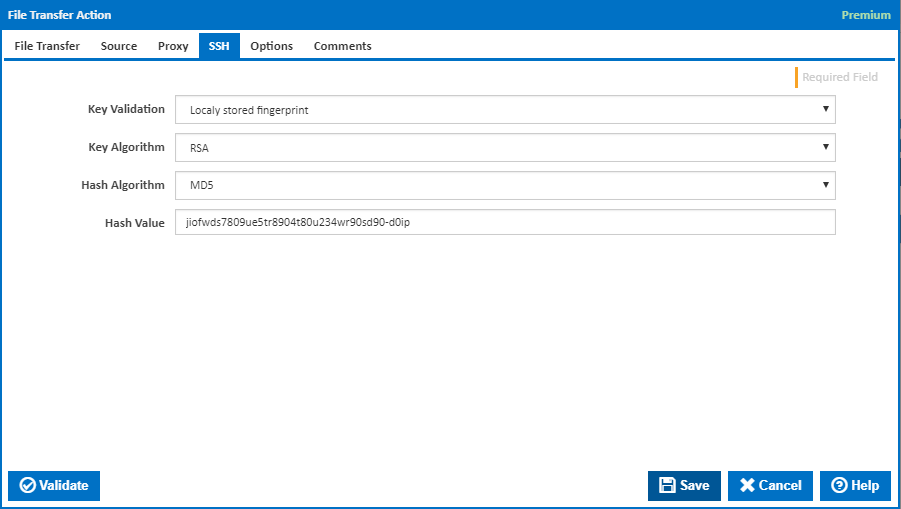
Key Validation
The file transfer action provides the following ways to validate the SSH key of the host being connected to:
- Accept any key - This option will accept any key supplied by the server. This might be used if the key is unknown and storing it in the action is not possible.
- Locally stored fingerprint - This option allows for the storage of the keys fingerprint to identify it. This method requires access to the hosts SSH key algorithm, hash and algorithm used to create the hash.
- Reject key - This option will reject any key supplied by the server. Typically this is used in testing that a servers keys can be rejected, and is not used in production systems.
Key Algorithm
This option specifies the algorithm that should be used to read the key. This will be known by the administrator of the host being connected to.
Hash Algorithm
This option specifies the hash algorithm used to generated a hash of the SSH key. If the algorithm used does not generate the hash listed below the key will be rejected.
Hash Value
The hash of the SSH hosts key. This should be generated using the hash algorithm listed above.
Options
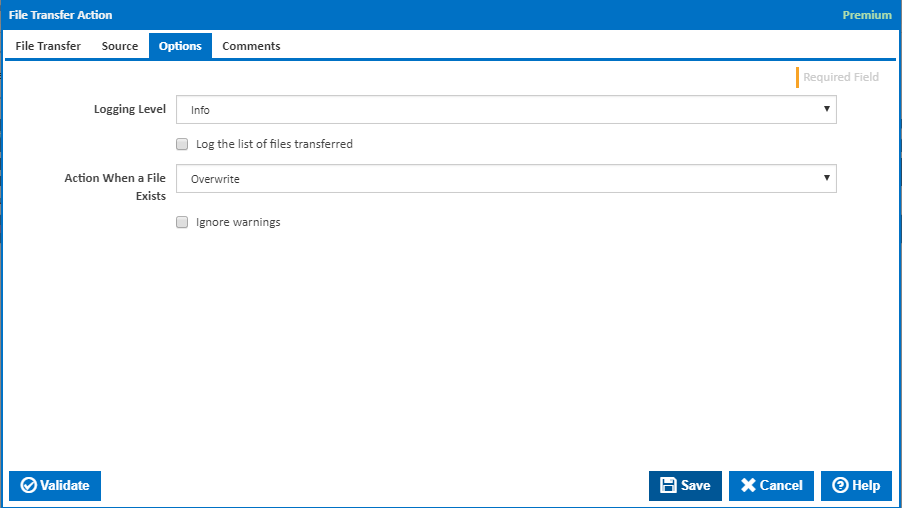
Logging Level
The amount of information detail to display in the build log.
Log the list of files transferred
Write the file name of each file transferred to the Build Log.
Action When a File Exists
Select the action when a file already exists.