...
If you need additional help with creating your project or configuration then check out our getting started tutorials, in particular Part 1: Create your First Project and Part 2: Create your First Configuration.

Link Our Configuration to Our VCS
...
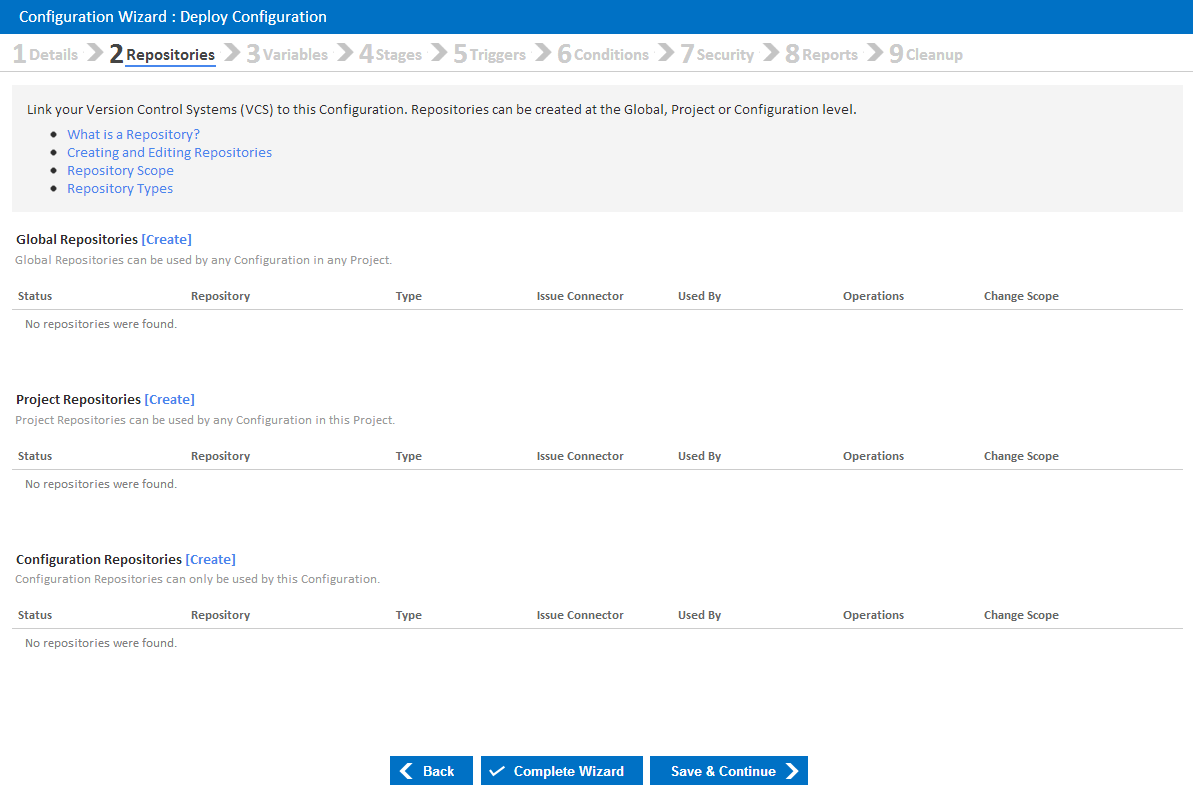
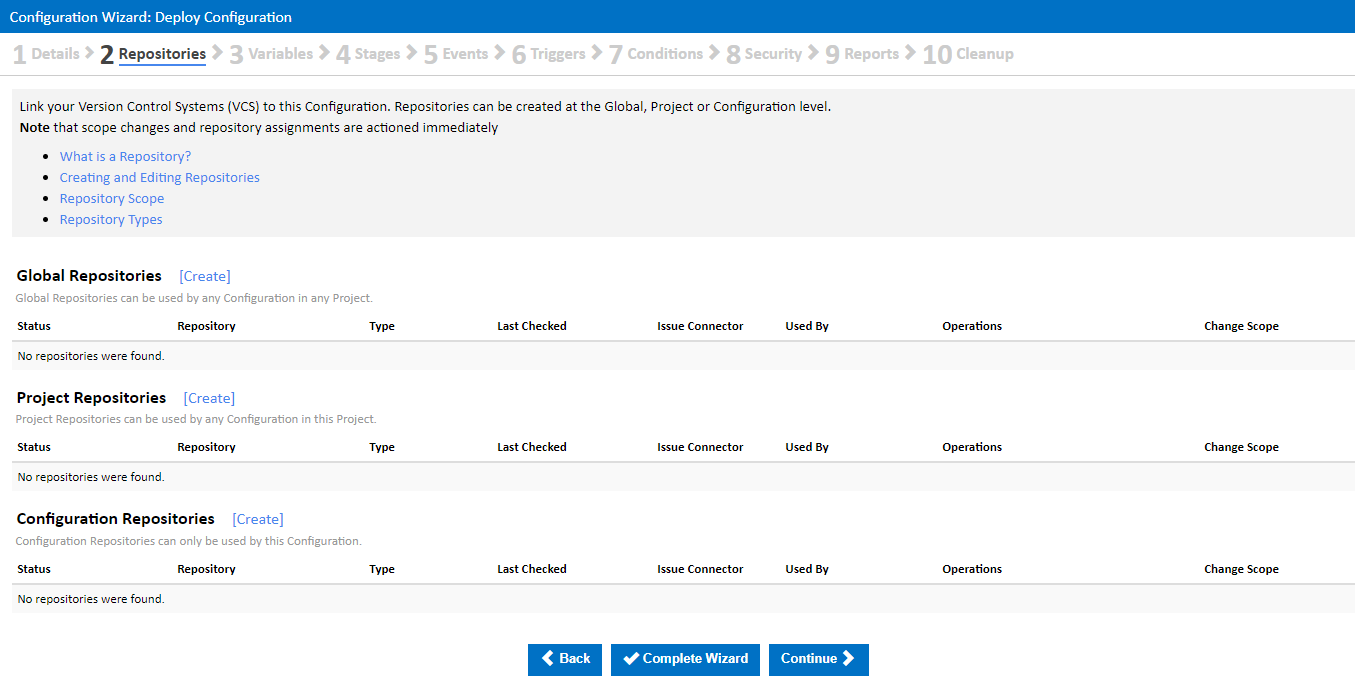
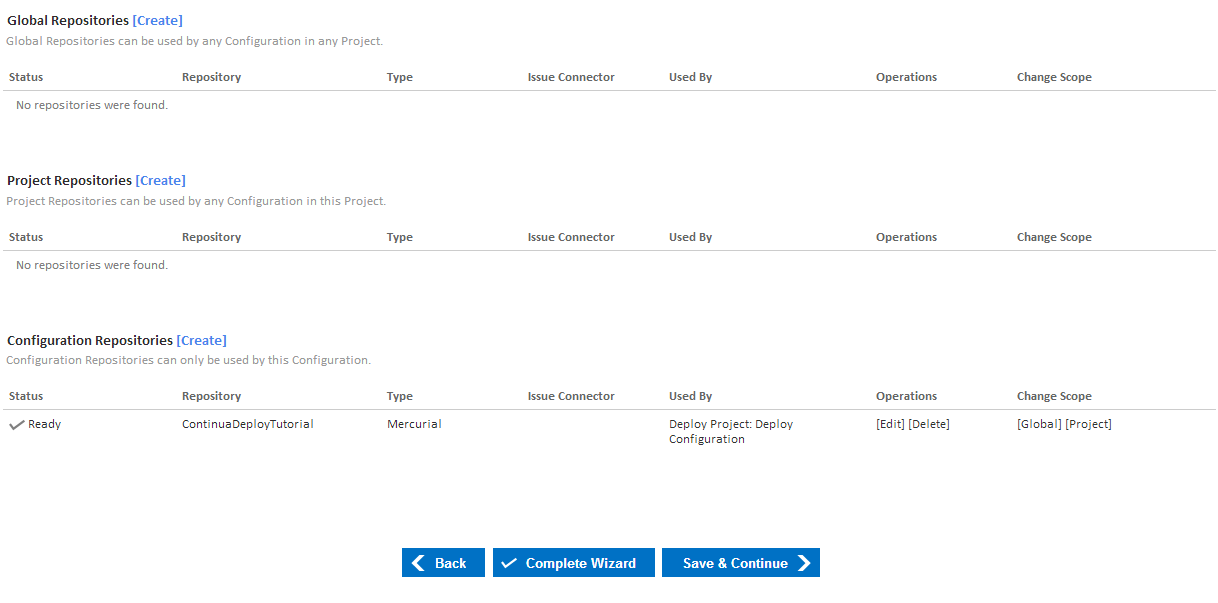
Navigate to the Repositories page under the Configuration Wizard for our Deploy Configuration. On this page you can link your VCS to Continua CI at either the Global, Project or Configuration level (learn more about Repository Scope). For this tutorial, lets link our repository to the Configuration by clicking the [Create] link next to the Configuration Repositories header.
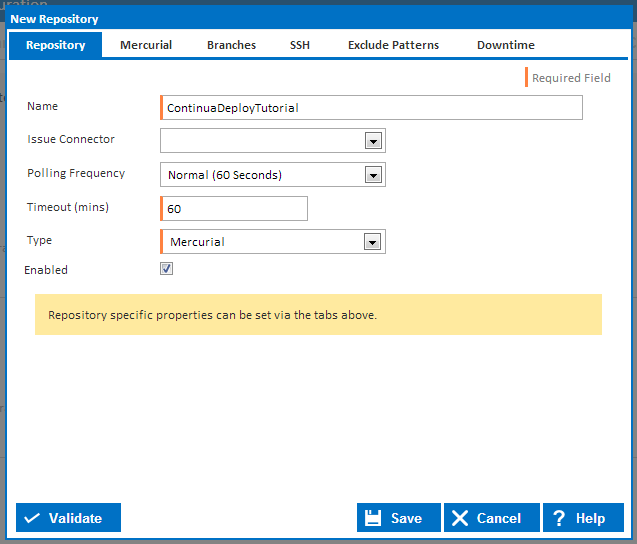
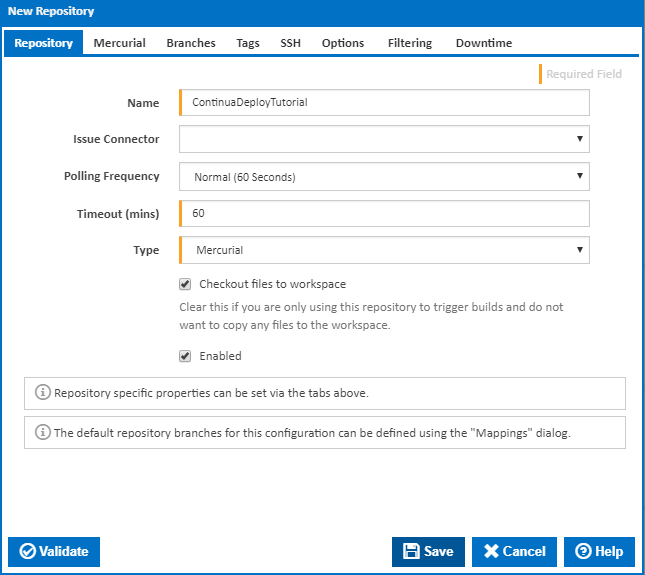
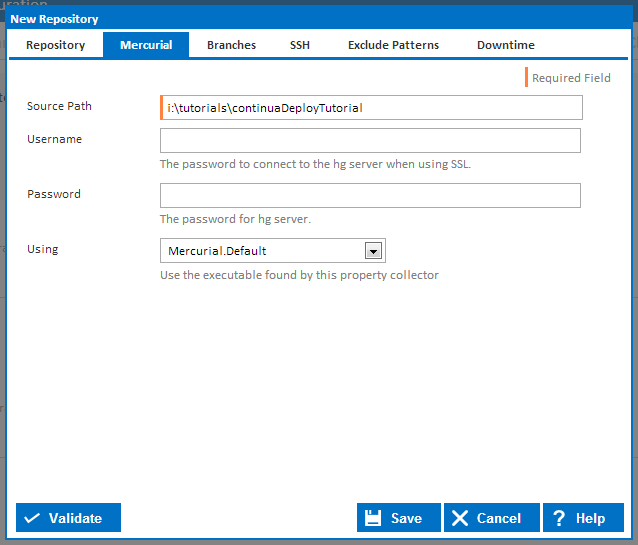
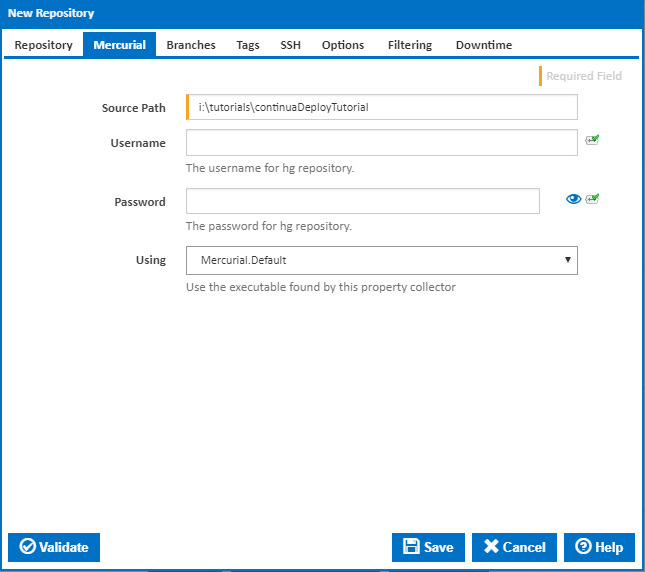
Clicking the [Create] link will bring up the Create Repositories dialog. Using this dialog, enter any VCS specific information that Continua will need to successfully link to your repository. Lets call our repository ContinuaDeployTutorial. For this tutorial I have created a Mecurial repository for our Web Application (as shown below). Once you have entered all your VCS settings, you can click Validate which will determine whether your repository is valid and has successfully been linked to Continua.
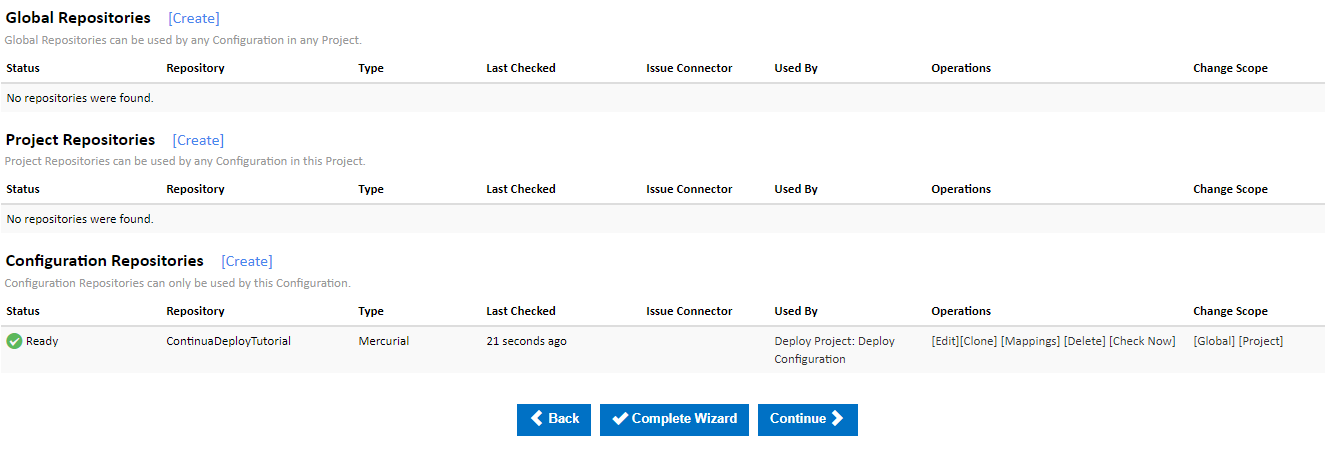
Once you have saved your repository, you should then see it appear under Configuration Repositories, as shown below.
Create a Build Process
...
So lets create a Create Directory Action by clicking the File Operations Category and selecting the Create Directory Action (As shown below).


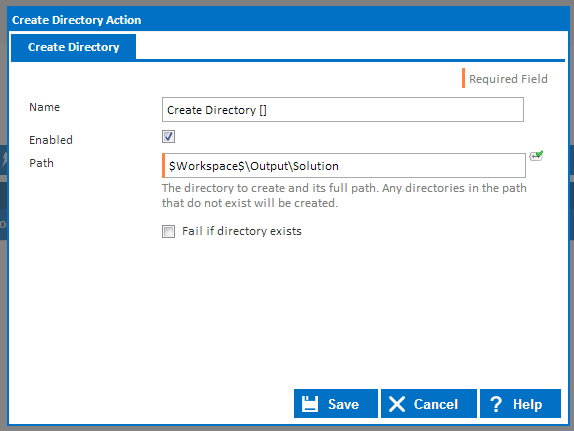
This will bring up the Create Directory Action dialog. The only property that we need to set is the Path property, which should be set to $Workspace$\Output\Solution. This is telling Continua to create the Output/Solution directories in the Agent Workspace. This directory will be where we store our Web App once we have built our project.
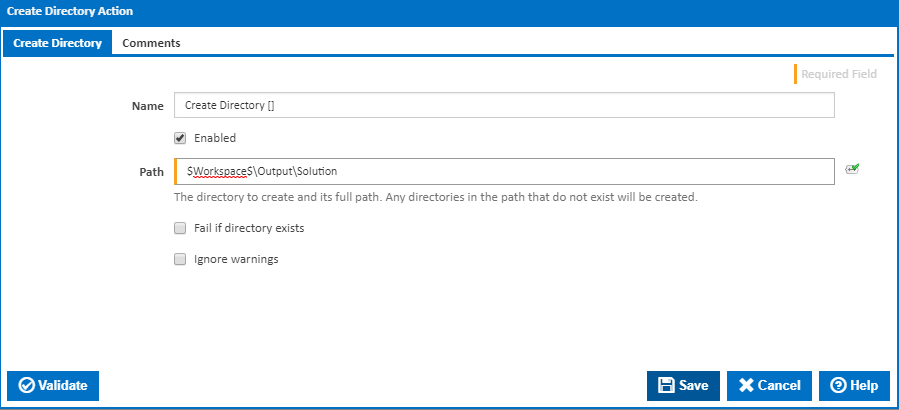
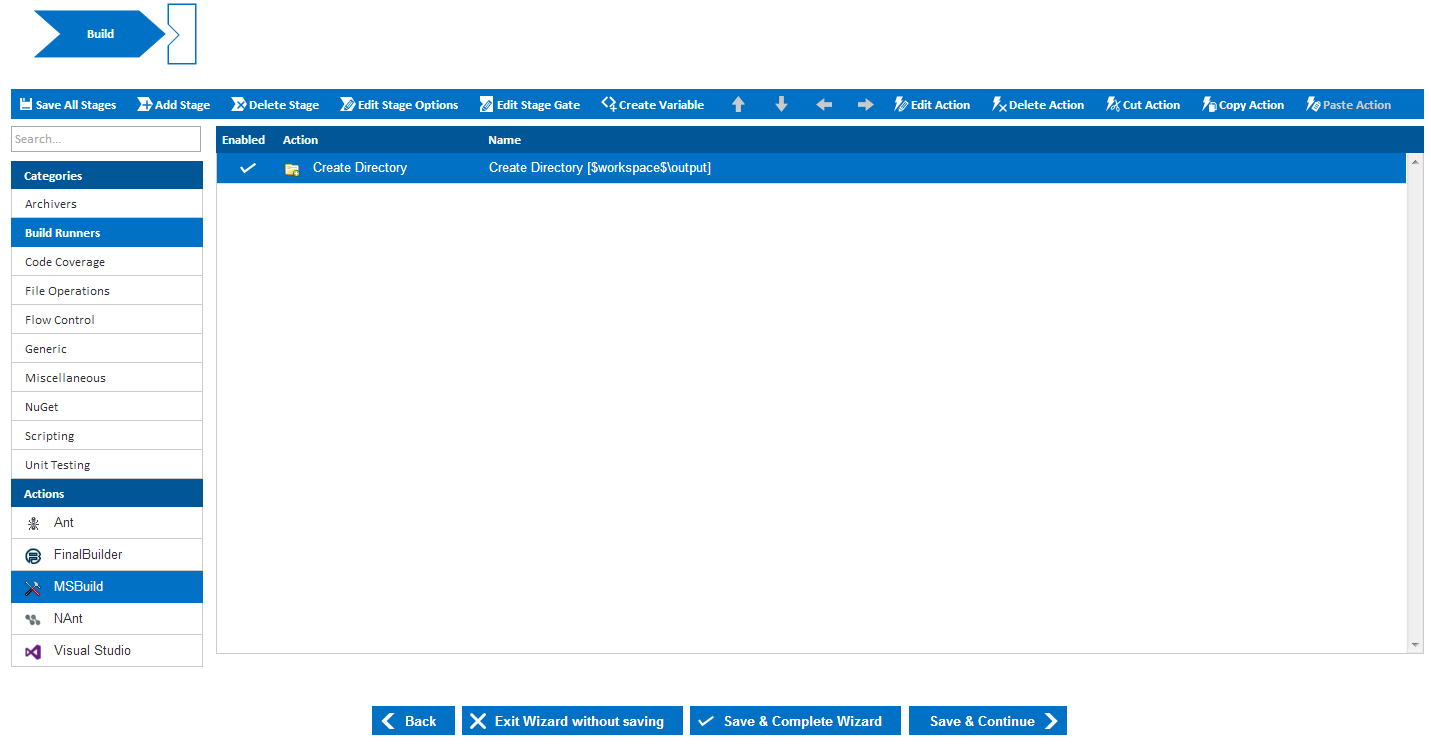
Once you have saved the action, you will see that your Create Directory Action has been added to the Workflow window in the Build Stage.
...
Lets go ahead and Create a MSBuild action on the Build stage by clicking the Build Runners category and selecting the MSBuild action. This will add the MSBuild action below the Create Directory action that we have already created.

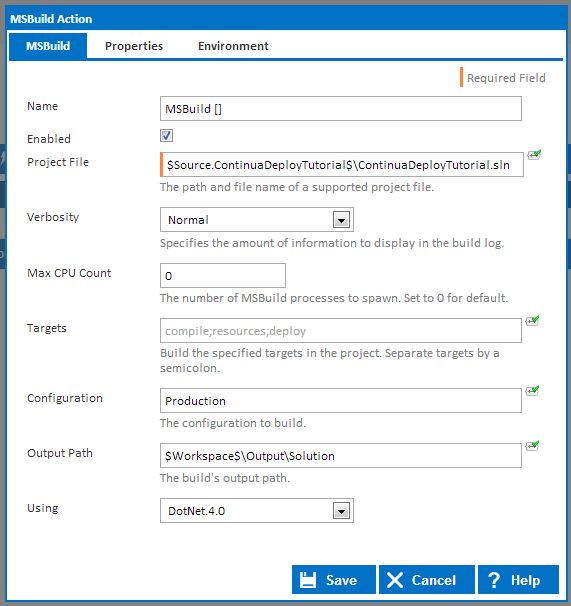
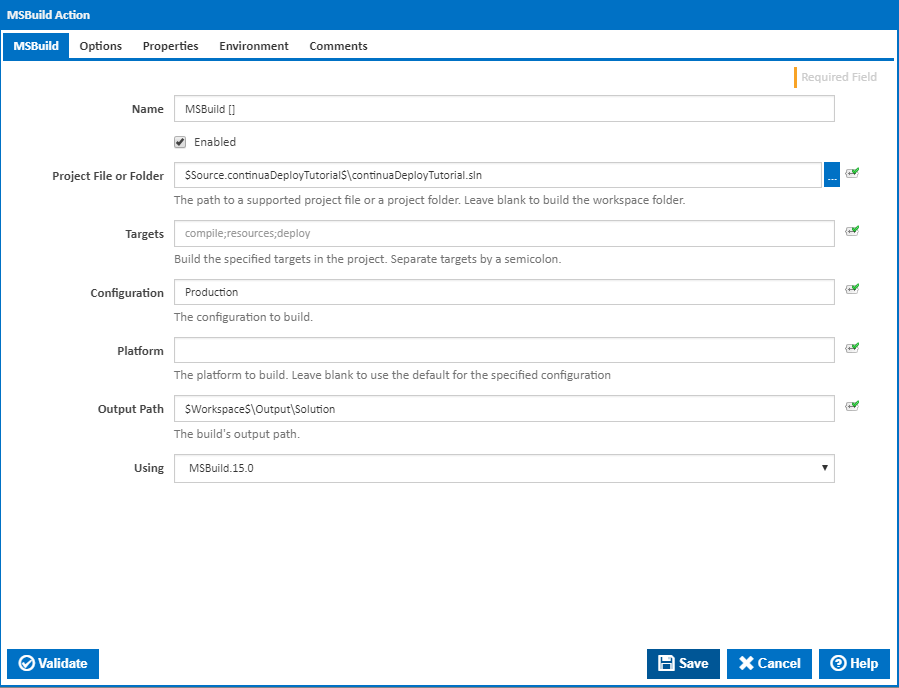
Selecting the MSBuild action will bring up the Create Action Dialog which allows you to set the parameters that will be used when the MSBuild action is executed. So lets set the following parameters:
- Firstly, lets point our action to our Web Application Solution file in our newly created ContinuaDeployTutorial continuaDeployTutorial repository. To point an action to a repository we use expressions to reference our repository. So to point our MSBuild action to our Solution file, we would use the following syntax: $Source.<repository_name>$/<file_path>. So lets set the Project File property to $Source.ContinuaDeployTutorial$continuaDeployTutorial$\ContinuaDeployTutorial.sln.
- We will also need to provide an Output Path for the MSBuild action. This should be set to a folder where our built project should be stored. Again, we can use expressions to point this property to the Agents workspace directory using the $Workspace$\<subdirectory> syntax. So lets set MSBuild's Output Path property to $Workspace$\Output.
- We need to set the Configuration property which tells MSBuild which Visual Studio Solution Configuration should be used when building our solution. Now that we have our Web.Config transforms configured correctly, lets set the Configuration property to Production.
- Finally, lets set the Using property to DotNet 4MSBuild 15.0.
Once all these properties have been set, save the action and you should see it appear below our Create Directory Action.
...
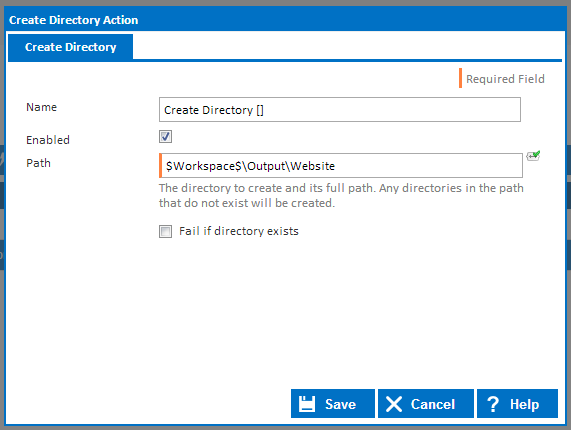
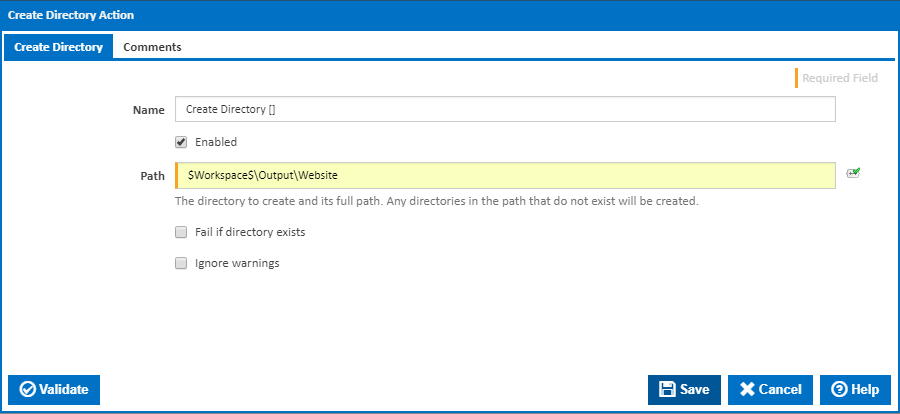
So lets add another Create Directory action, but this time we want to create the directory $Workspace$\Output\Website (as shown below).
Build and Package our Web Application Project using MSBuild
...
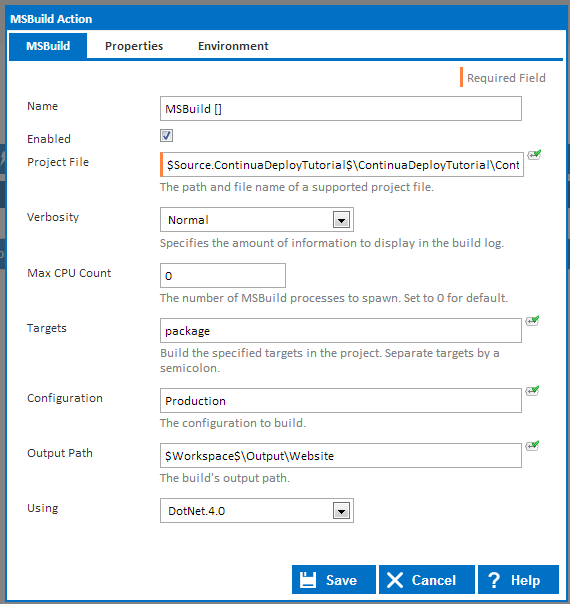
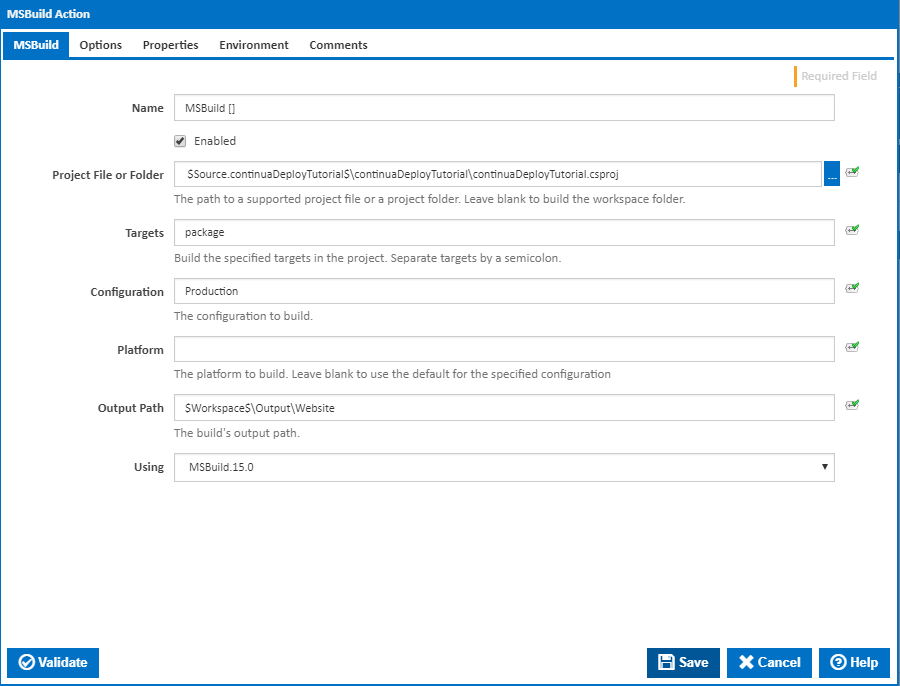
- Set the project file to the project file of the Web Application. This will build only the Website and no other components in your solution. For our example, we have given the project file the following value: $Source.ContinuaDeployTutorial$continuaDeployTutorial$\ContinuaDeployTutorialcontinuaDeployTutorial\ContinuaDeployTutorialcontinuaDeployTutorial.csproj
- Set Targets to package. This tells MSBuild that it should also package up our website into its own .zip folder so that we can then deploy our site to our production server.
- Set Configuration to Production so that our Production web.config will be used.
- Set the Output Path to our Website output folder, $Workspace$\Output\Website.
- Set the Using property to DotNet 4MSBuild 15.0.
Reviewing your Build Process
Once we have created all 4 actions, our build process should look something like this:
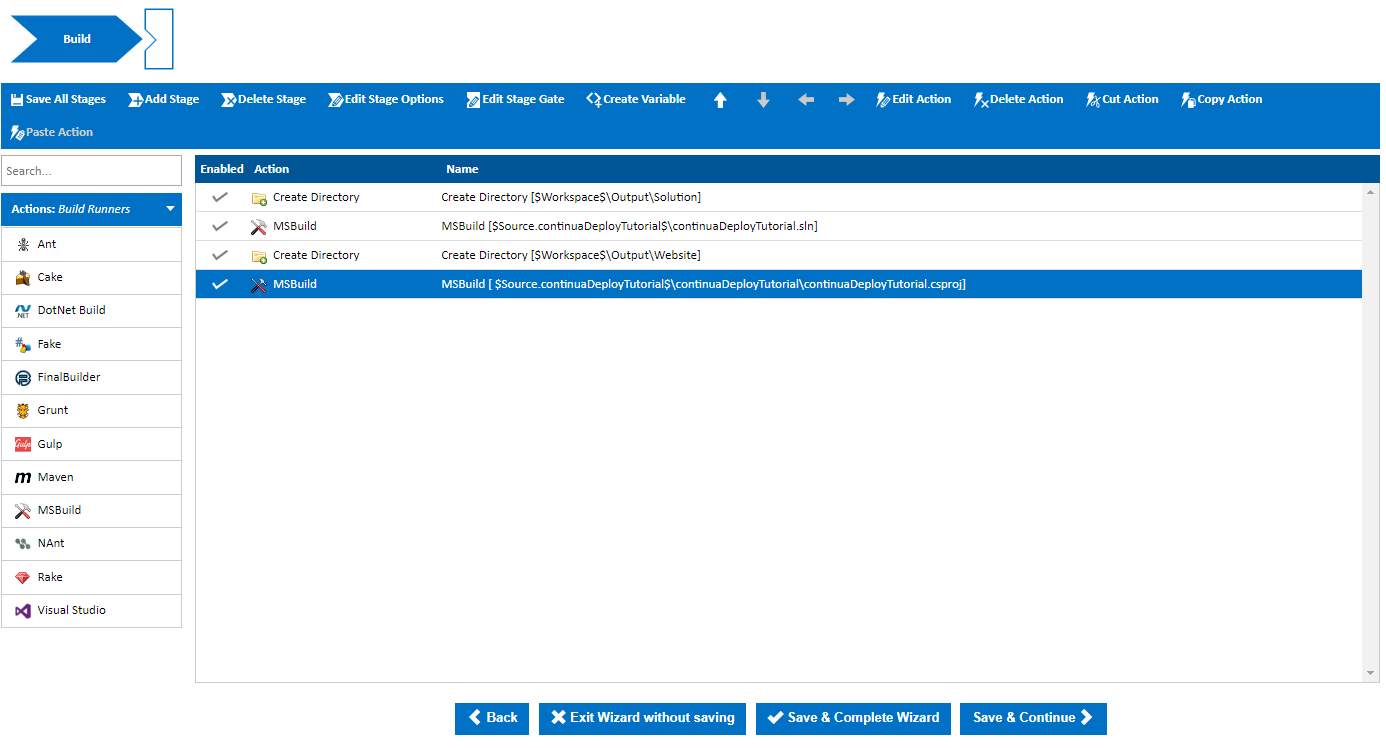
Once you are happy with your build process, click the Save & Complete Wizard button.
Build our Deploy Project
...
Now that we have created our actions, lets run the build. Navigate to the Configuration page and click the Fast Run button (the fast forward button). Once the build has finished running, it should turn green if it completed successfully.
...