This tutorial walks through the setup of a real world project in Continua CI from the absolute beginning. If you are new to Continua, this is a great place to start.
Once you have installed Continua and a Continua administrator has been created, the first thing you need to do is create your first project. In Continua, projects allow you to group configurations and share common build components such as repositories and security policies. For example, if you have several builds that use the same repository, that repository can be added to a project. By adding the repository to the project, every configuration in that project can then access the source of that repository. For more information regarding projects and why they are important, please visit the Global Settings, Projects & Configurations page.
...
Once you've clicked Create Project, you will be redirected to the Project Wizard's start page where you can create your first project. The project wizard is also where you can set all the properties regarding projects. For this tutorial we will only be creating the most basic Continua projects.
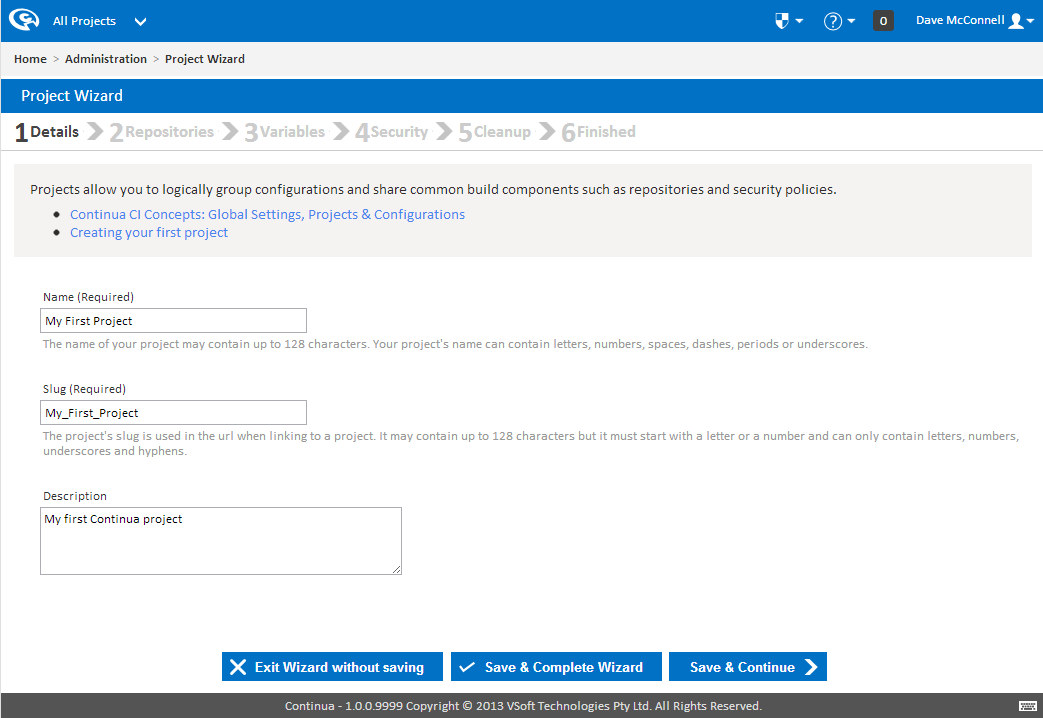
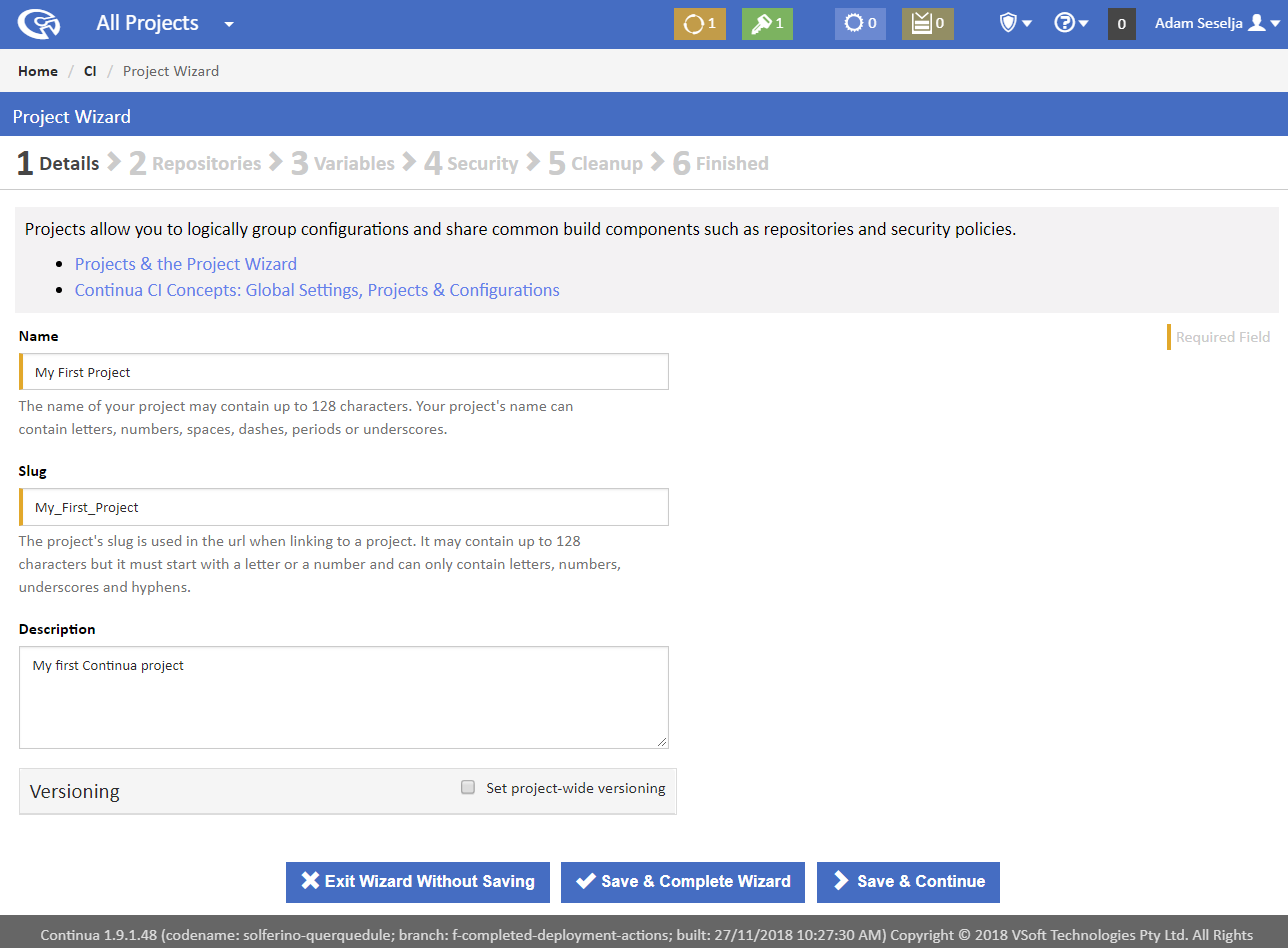
The only information required for a project is it's name and it's slug. Lets go ahead and call our first project My First Project. You will notice that as you type the projects name, the slug automatically updates. For now, lets leave the slug as My_First_Project. While we are here we may as well give our project a description. This can contain any information that may be useful to you.
...