...
If you were to create additional actions then these would also be added to the Workflow editor underneath your Visual Studio action. In Continua, actions toward the top of the list are executed before actions that are towards the bottom. For now though, the Visual Studio action is all we need to build our project so lets save our workflow by clicking Save & Complete Wizard.
Running our Configuration
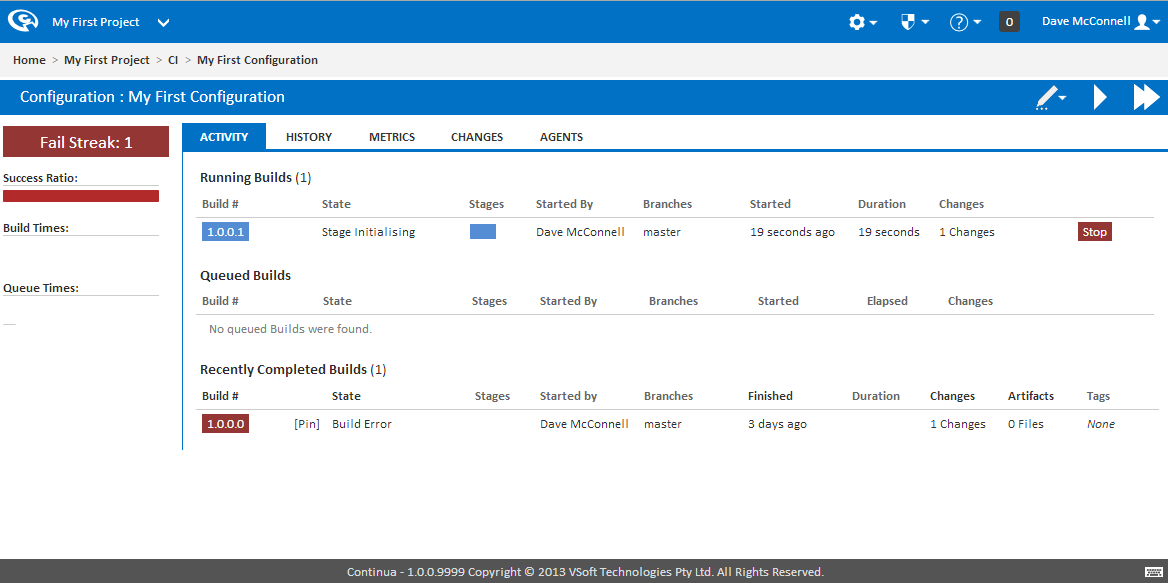
Once you have saved your action workflow you will be directed to the Configuration Activity page as shown below. If you attempted to run a build before we created our action workflow then you should see that our Fail Streak is 1 and 1 failed build was run.
So lets run our build by clicking the Quick Build Button (Fast Forward) in the top right hand corner of the screen. When a build begins executing it is added to the build queue while it searches for a compatible agent that can run all actions in the build's first stage. By default, Continua installs an agent on the server, however additional agent licenses can be purchased to enable distributed builds. Once a suitable agent has been found, the build will be removed from the queue and become a Running Build, as seen below.
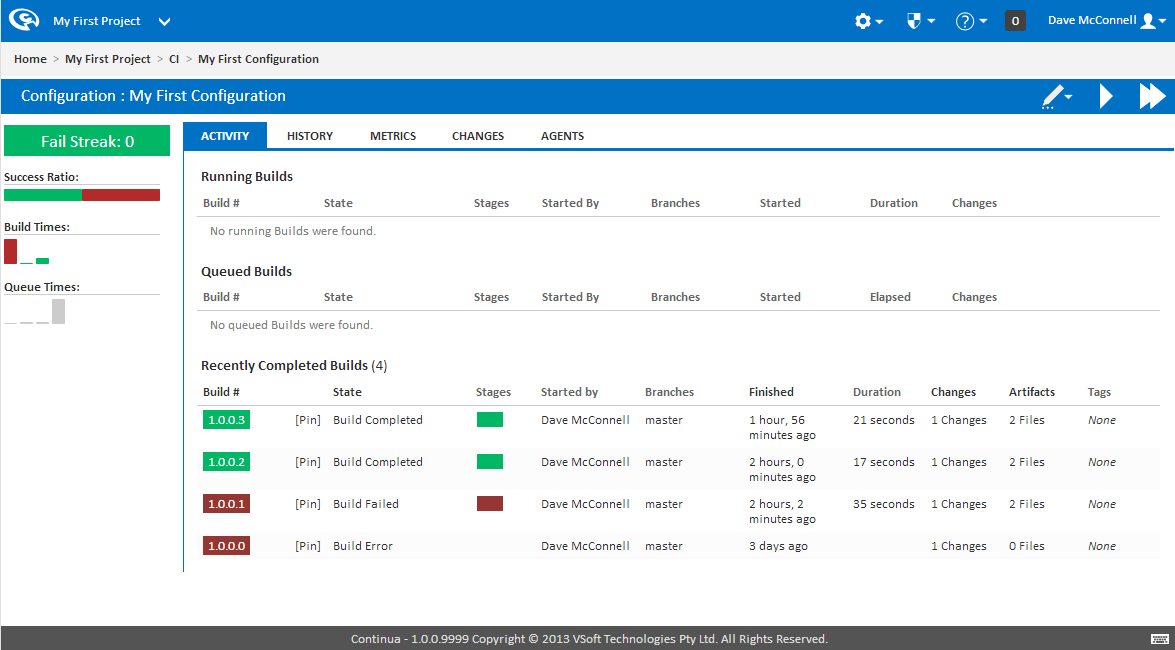
Completed Builds
Once a build has completed, it will be displayed as either a green or red build, signifying whether the build finished successfully or failed.