...
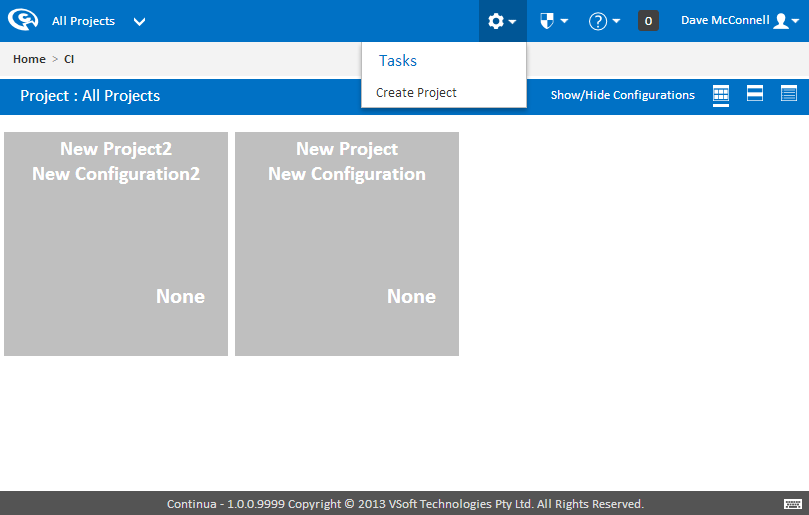
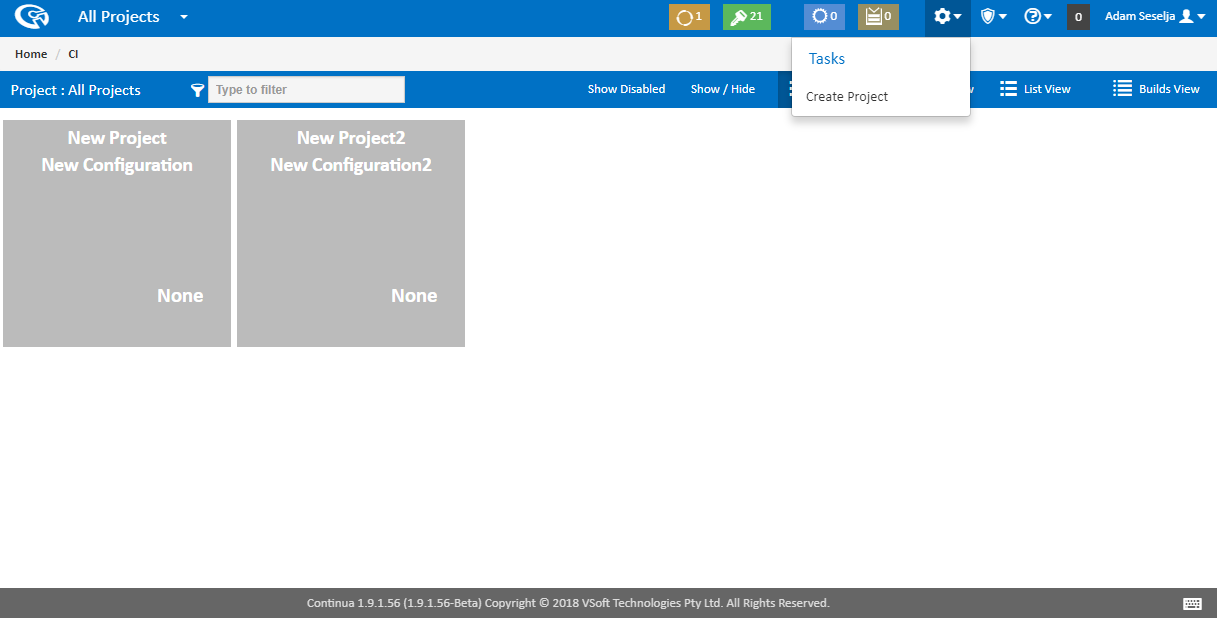
If your Continua environment has already been setup, you can create a new project by navigating to the Tasks menu and clicking Create Project.
Project Wizard
Once you've clicked Create Project, you will be redirected to the Project Wizard's start page where you can create your first project. The project wizard is also where you can set all the properties regarding projects. For this tutorial we will only be creating the most basic Continua projects.

The only information required for a project is it's name and it's slug. Lets go ahead and call our first project My First Project. You will notice that as you type the projects name, the slug automatically updates. For now, lets leave the slug as My_First_Project. While we are here we may as well give our project a description. This can contain any information that may be useful to you.
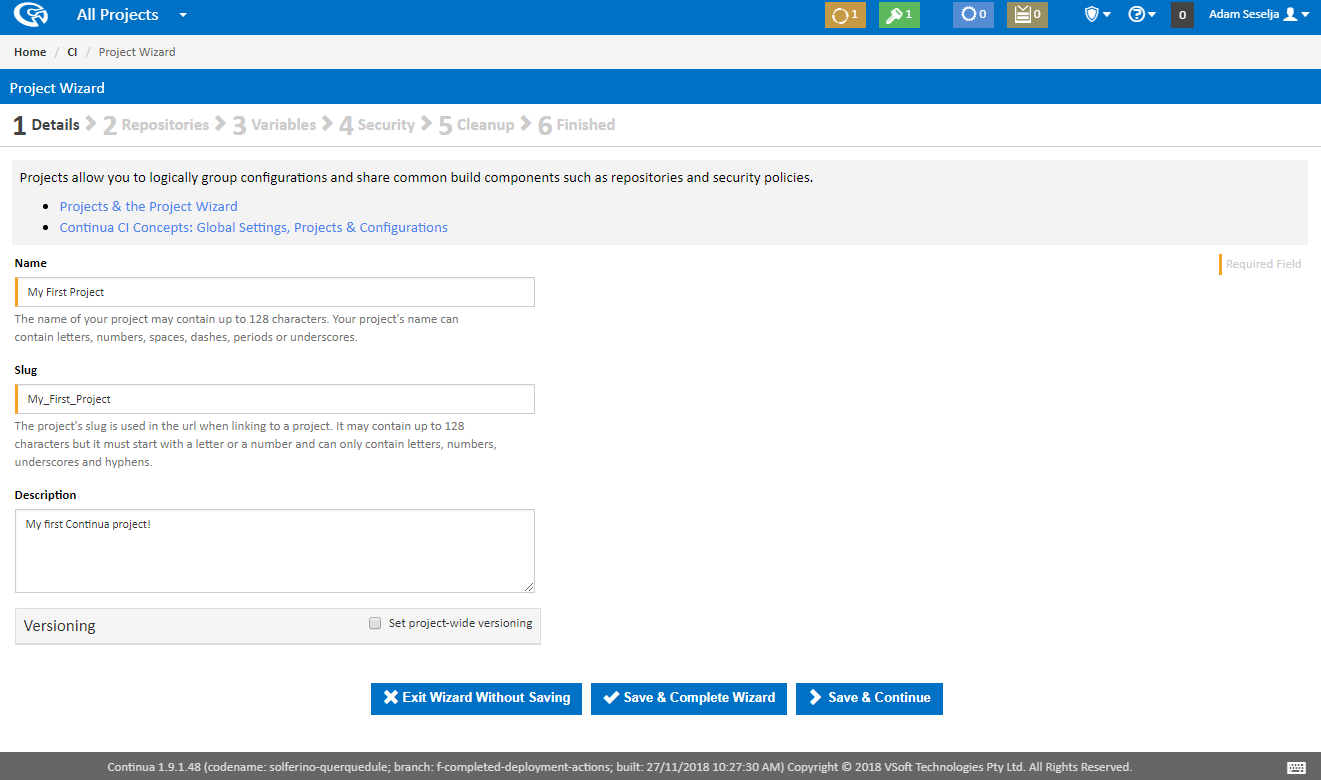
Once your project has a name and slug, lets save it. In the Project Wizard you can save your project with either Save & Complete Wizard button or the Save & Continue button. For now we don't want to set any other properties on the project so lets complete the wizard by hitting Save & Complete Wizard.
...
Congratulations, you have created your first project. Once the project is created, you should see the following screen:
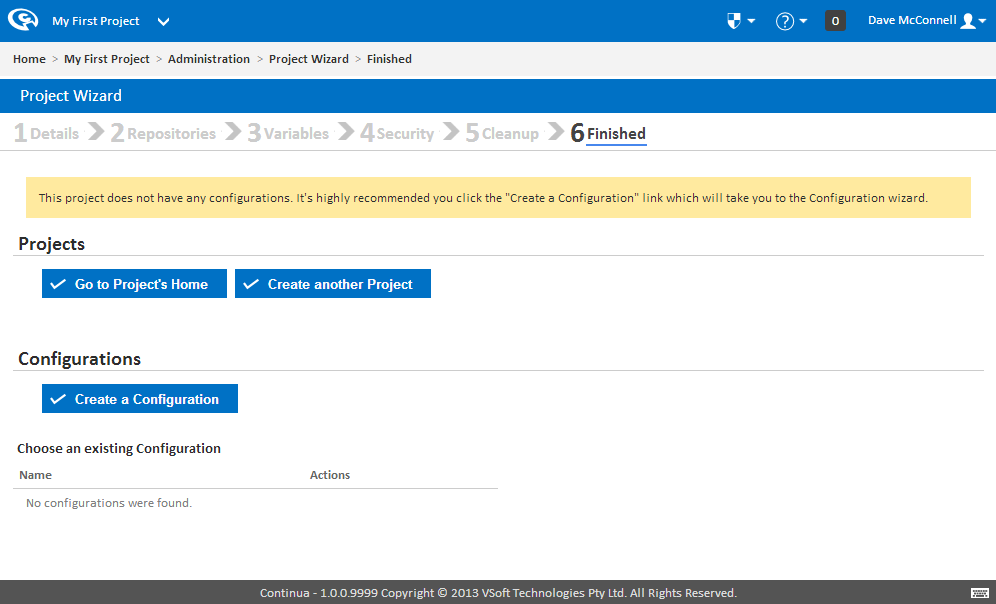
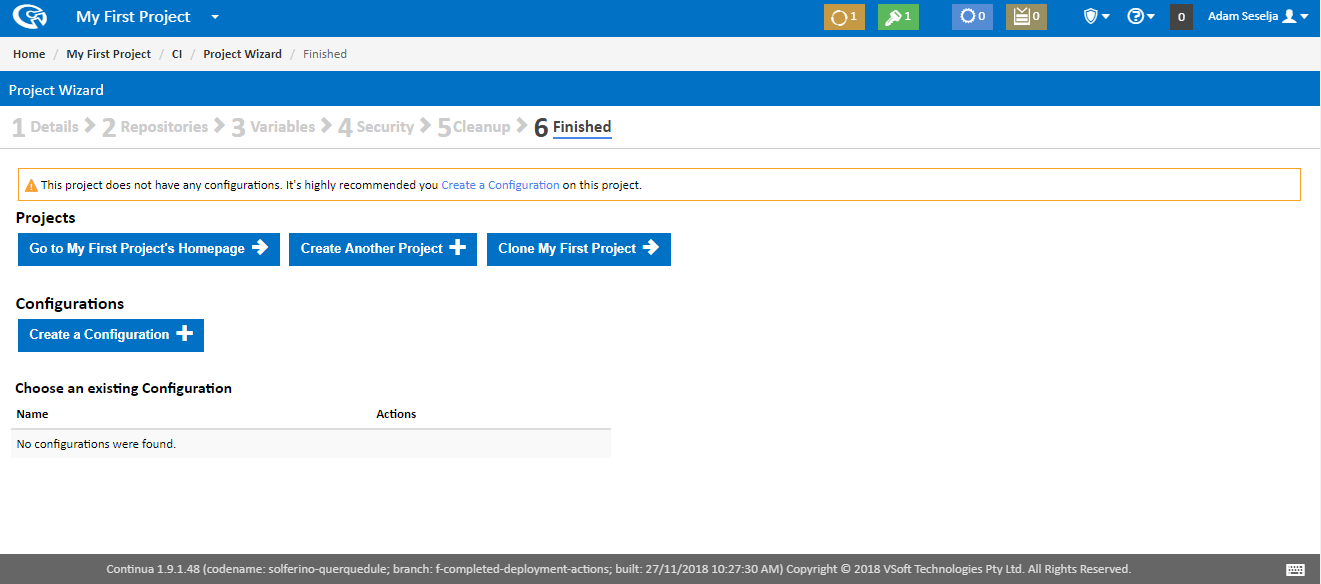
As you can see, our project has been created but we still need to create a configuration for this project.
...