...
- Start up Internet Information Services (IIS) Manager, click on the Server node and go to the Compression module.

If the "Enable dynamic content compression" checkbox is disabled and you see this yellow alert on the right-hand side, then this indicates that it is not installed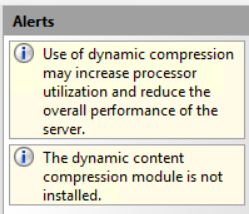
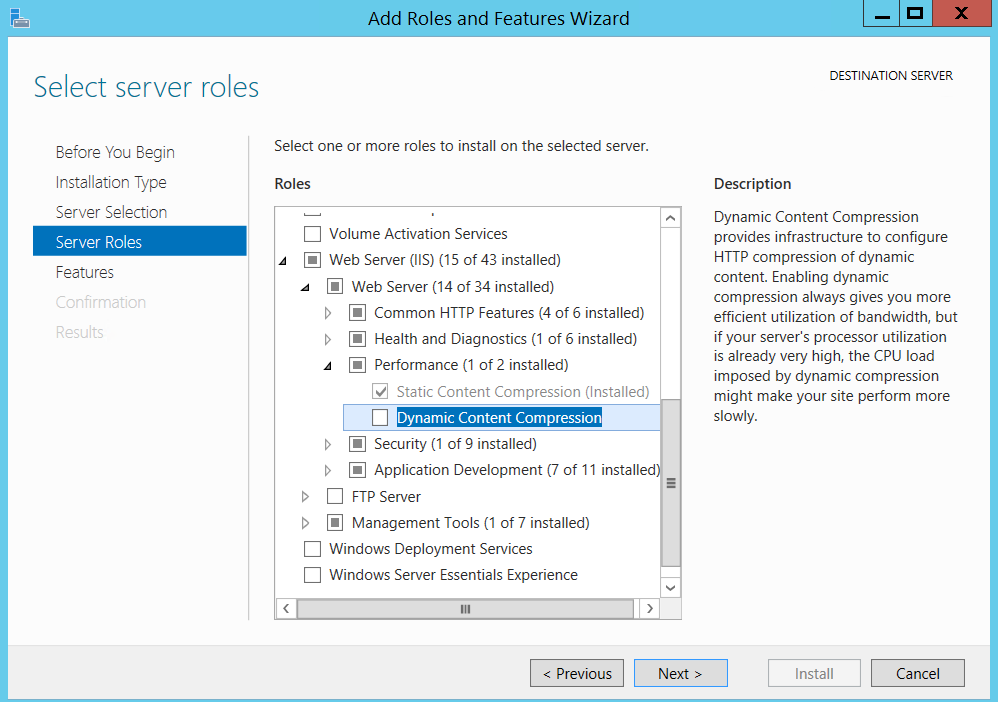
- If it's not installed, open the Server Manager. Go to the Dashboard, then click "Add roles and features". Click Next through each page of the wizard, until you get to the Server Roles page. Locate the Dynamic Content Compression role under Web Server (IIS), Web Server, Performance and tick the checkbox. Continue to the Confirmation page and click Install.
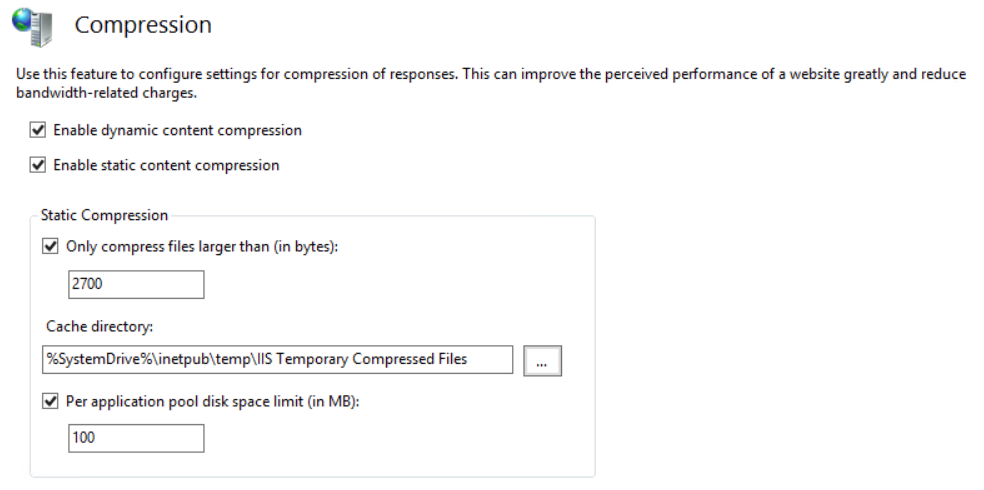
- Once the role is installed go back to the Compression module page in IIS Manager and ensure that both dynamic compression and static compression are enabled. Note that you need to do this at the Server level not the Website level.
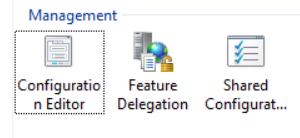
- Compression is now set up, but we still need to add the mimeTypes that we want to compress. Go to the Configuration Editor
- Select system.webServer/httpCompression from the Section dropdown list
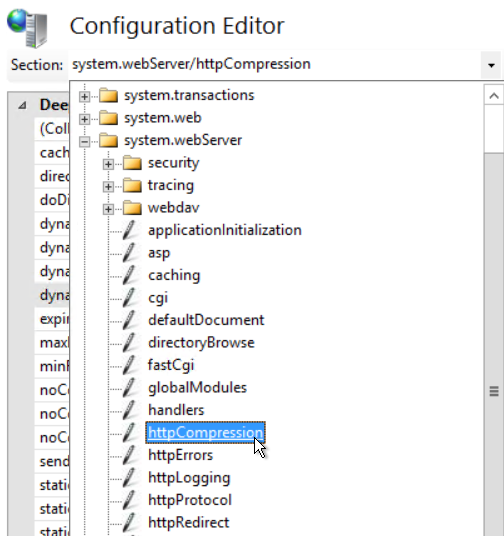
and click on the edit button next to dynamicTypes: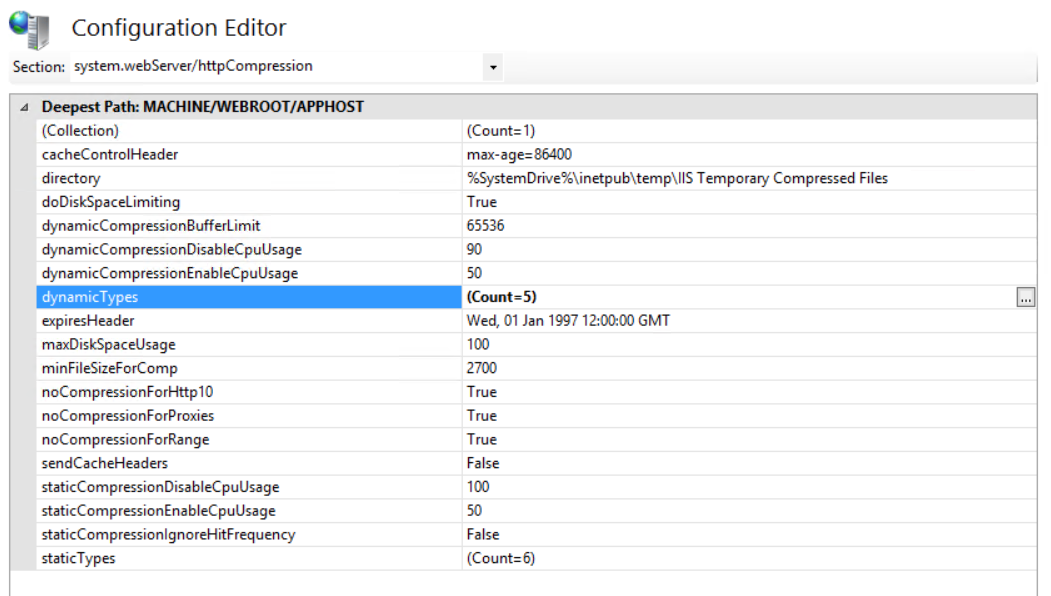
- Continua CI web pages updates are sent as JSON so we need to add entries for the mimeTypes "application/json;charset=utf-8" and "application/json" with Enabled set to True.
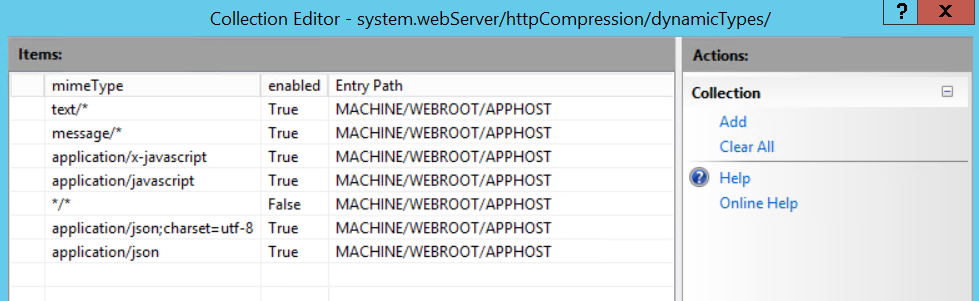
Then close the Collection Editor, click Apply and Restart your IIS Service to load the new module. - To confirm that compression is now on, open Continua in your web browser and check the response headers under the Network tab in the developer tools
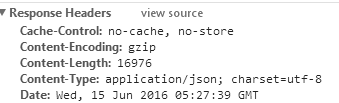
...