...
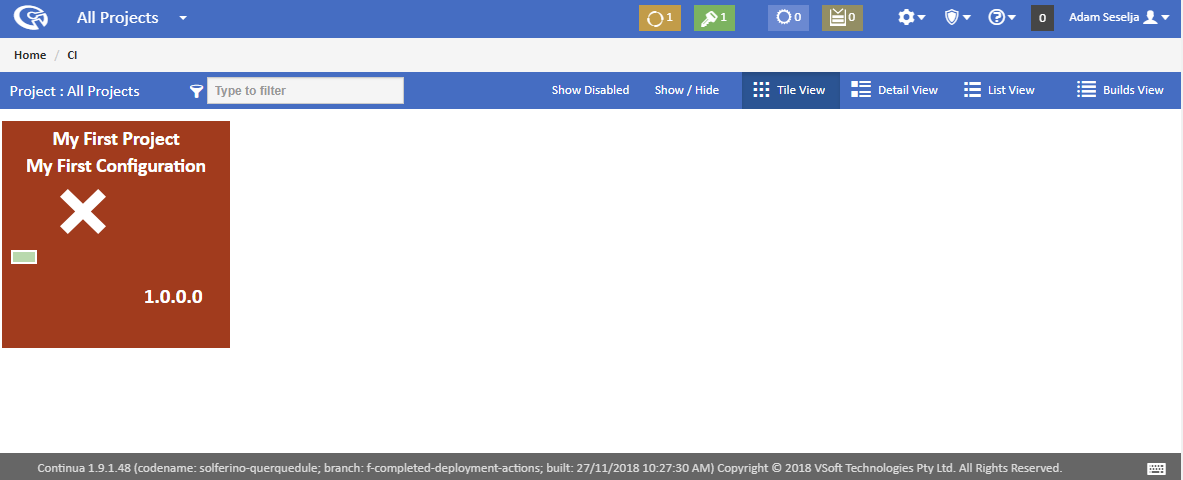
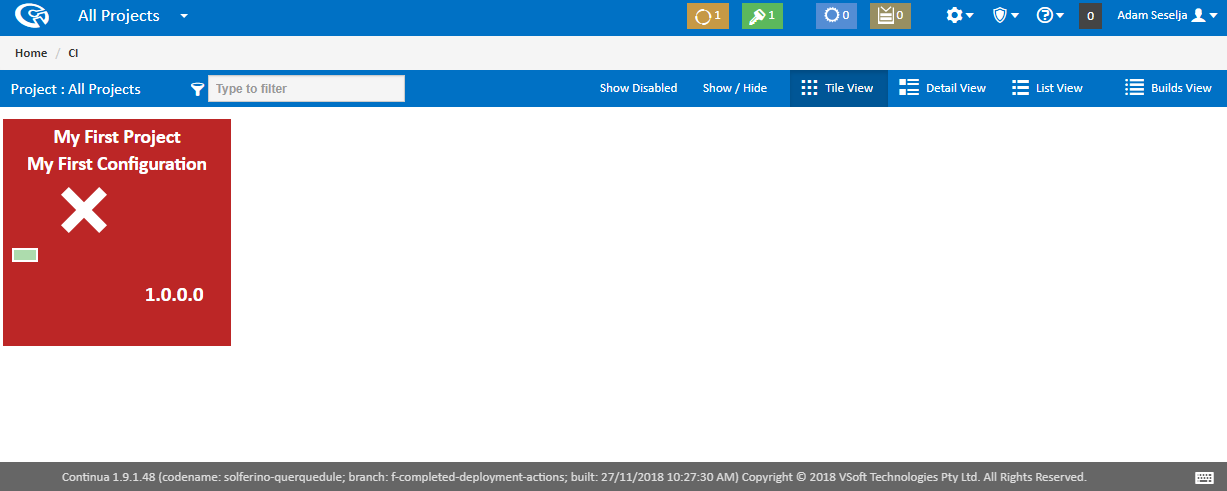
Once the build has run, it will turn red, as shown below. The reason the build failed is that there are no actions for the build to complete. Well this is easily fixed by adding some actions to the Configuration Workflow in the Configuration Wizard. Click the Edit Configuration button (Edit pencil icon) on the configuration tile to enter the Configuration Wizard then navigate to the Stages section of the Configuration Wizard.
Stages & Workflow Editor
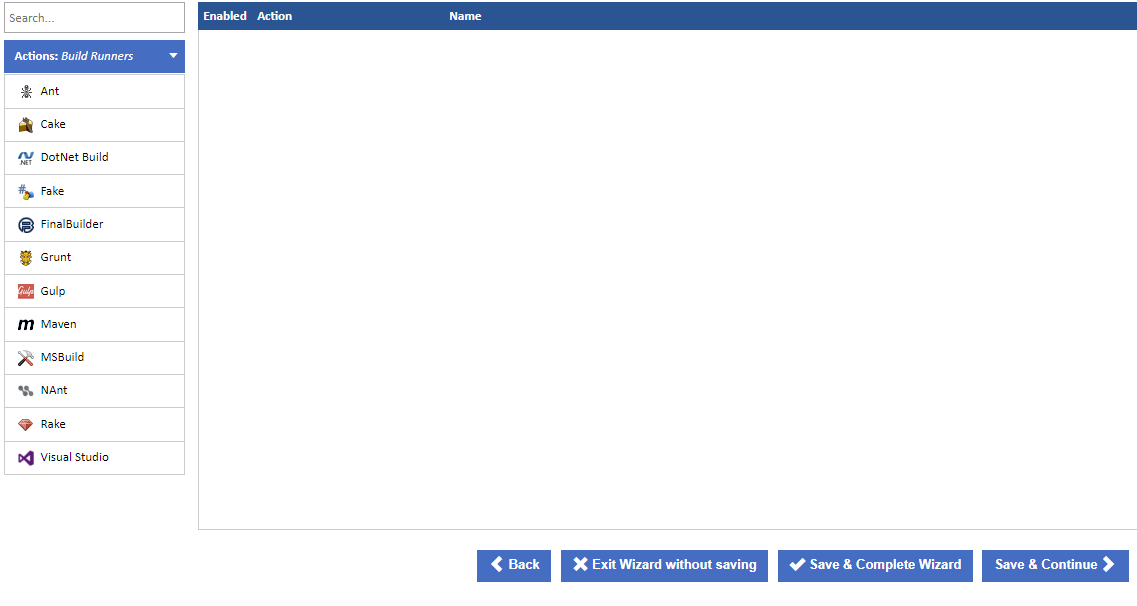
Welcome to the Stage & Workflow Editor. This is where you define the individual actions that will run when a build is executed. For more detailed information on working with workflows, check out the Stages section.
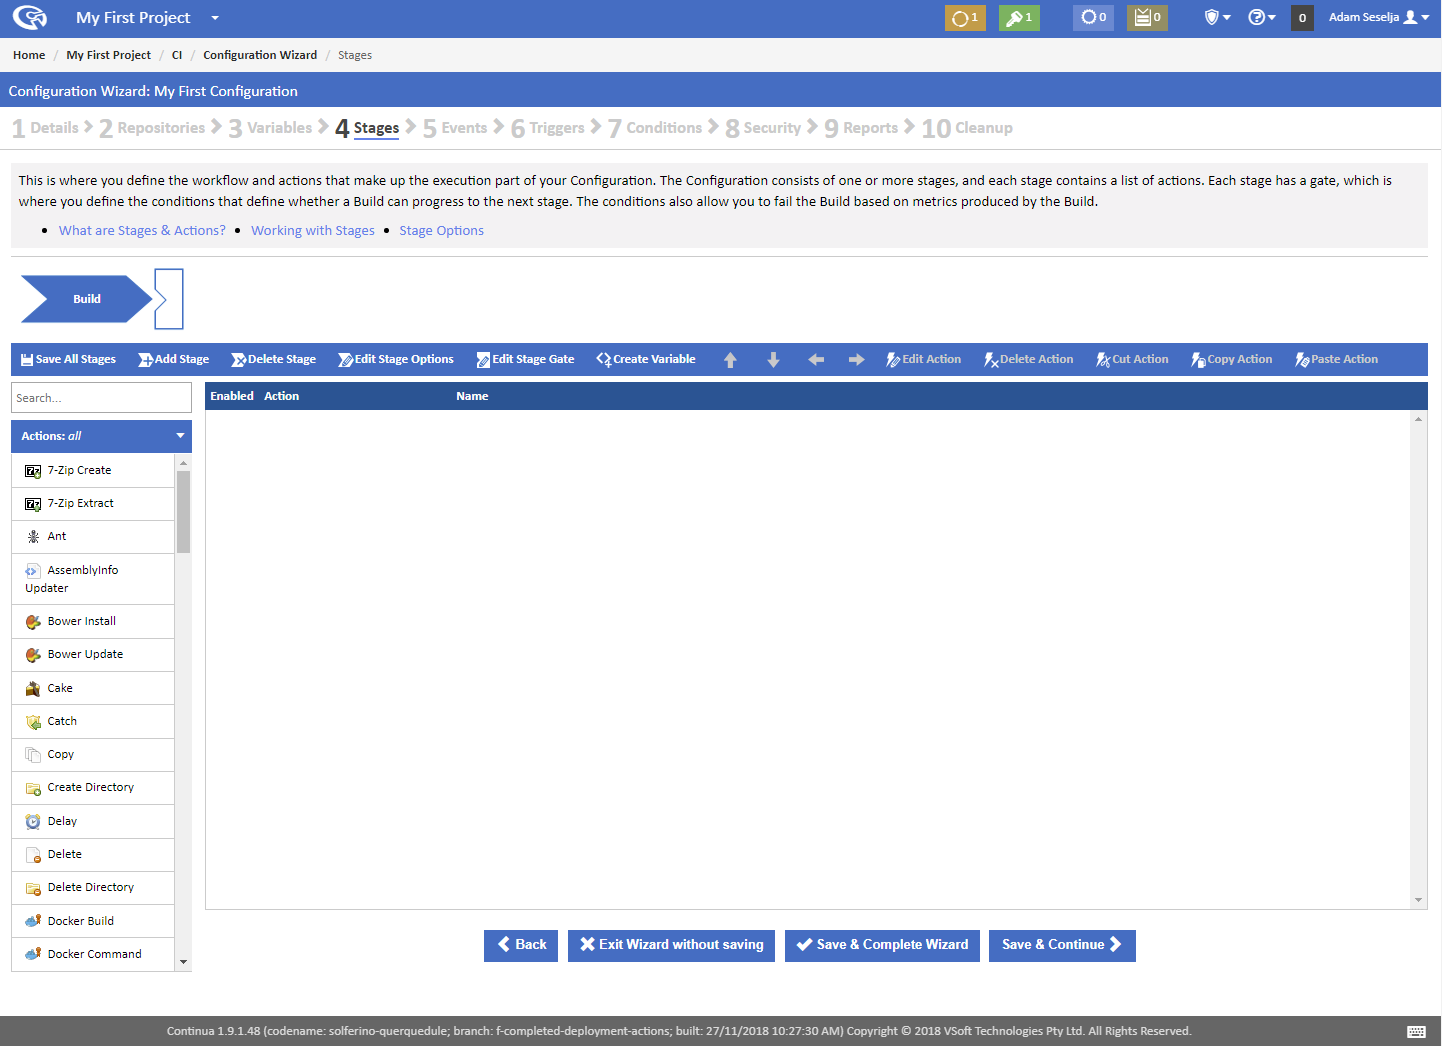
Stages
Continua CI creates a default 'Build' Stage when a new configuration is created and this stage is displayed near the top of the page in the Stage Editor. Each stage is represented as a blue chevron and is accompanied by a stage gate, which is represented as a box with a triangle cut out. Stages can be used as a way to break a complex build process into smaller, logical pieces. For example, your build may consist of a build stage, a test stage and a deployment stage. For this tutorial however the default 'Build' stage will be all we need.
...
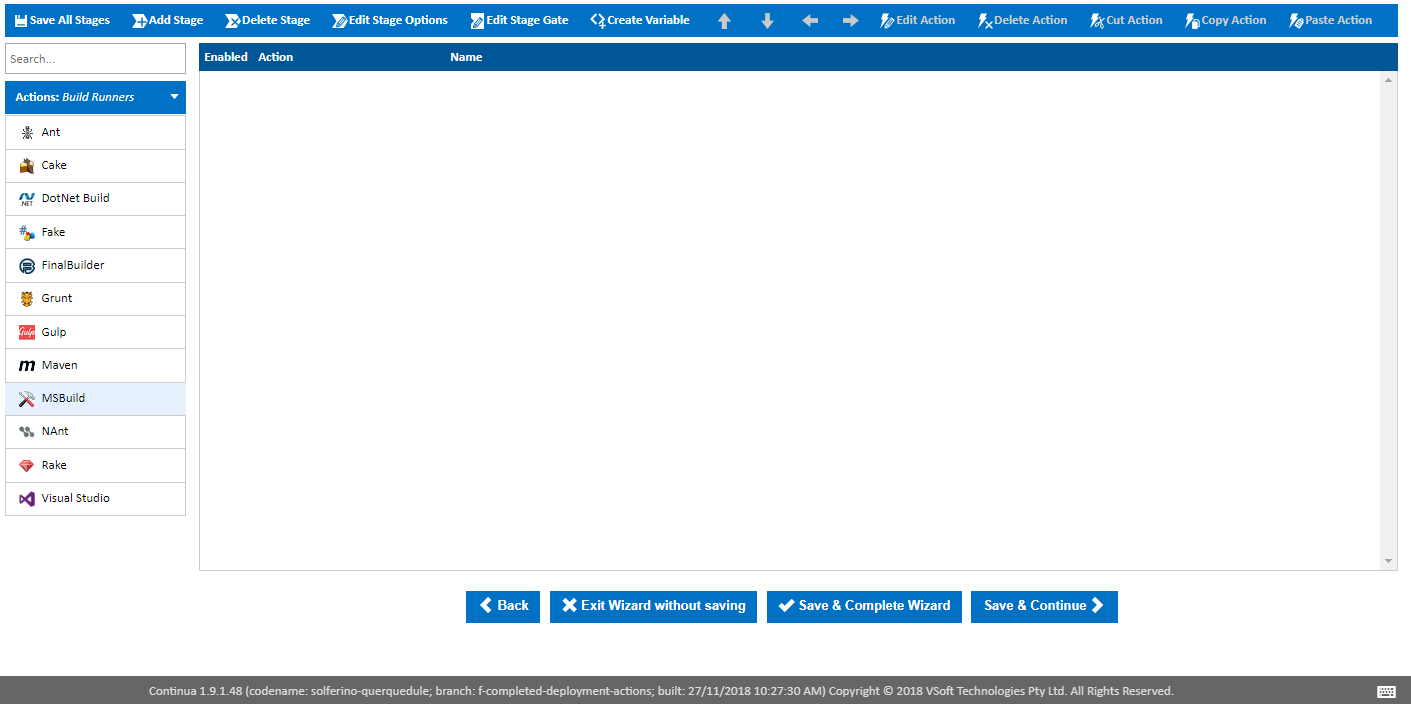
So lets create our first action by navigating to the Build Runners category as seen below. Selecting the Build Runners category will display all available build runner actions that can be executed within Continua. For this tutorial we want to build our Fluent NHibernate source code using MSBuild, so lets add a MSBuild Action by clicking MSBuild.
Selecting an action will bring up the action dialog where you can set all the properties for your MSBuild action. In this tutorial we will need to point this action to the Fluent NHibernate Example .csproj file, so lets set the Project File property to $Source.Fluent_Nhibernate$/src/Examples.FirstProject/Examples.FirstProject.csproj. Continua CI supports Variables, Objects & Expressions which we are using in this field to point to our repository. You can see that we are using $Source.Fluent_Nhibernate$ to point to our repository rather then providing a concrete file path. This is done so that you do not need to worry about where repositories are located as Continua CI looks after all repository management for you. So lets breakdown what is happening when we define our project file as $Source.Fluent_Nhibernate$/src/Examples.FirstProject/Examples.FirstProject.csproj.
Continua allows you to specify dynamic objects and variables that are then given values when a build is executed. Dynamic objects and expressions are registered with surrounding $ symbols. In the image below you can see that specifying $Source.$ displays a dropdown that lists all the repositories that can be accessed from this configuration. At the moment we only have our Fluent NHibernate repository, however any other repositories that may have been created will also display in this list. So by setting the project file to $Source.Fluent_Nhibernate$, we are pointing Continua to our Fluent_NHibernate repository. If you called your repository a different name then this property will need to reflect the new name. ie. $Source.<repo_name>$
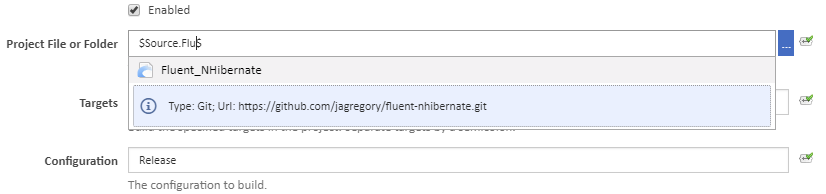
Anything that follows $Source.Fluent_Nhibernate$ refers to the file structure of the repository itself. So by specifying /src/Examples.FirstProject/Examples.FirstProject.csproj we are telling Continua to get the Examples.FirstProject.csproj file from the src/Examples.FirstProject folder of the repository. On the GitHub Fluent NHibernate page you can see the project's repository structure. In the two images below, you can see how we point to the .csproj file in Continua CI and how the project's file structure looks over at GitHub.
...