Getting Continua to work with a mercurial repository over SSH takes a couple of additional steps.
Step 1.) Install Putty
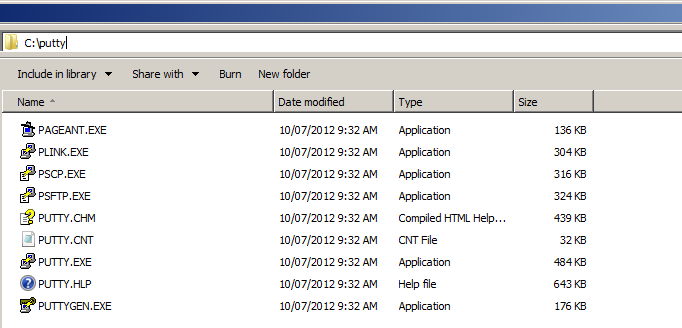
Download the set of putty tools at http://www.chiark.greenend.org.uk/~sgtatham/putty/download.html
Install them into a directory on the machine your Continua server is running.
Step 2.) Generate a public/private key
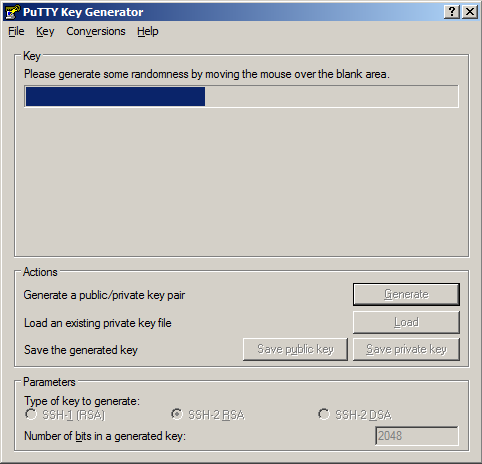
In the putty directory you just installed, look for the executable called PuTTYgen.exe. Open it and click the Generate button. You'll need to move the mouse cursor around until the progress bar reaches the end.
Do not set a passphrase on your private key. Continua CI does not currently support private keys with a passphrase.
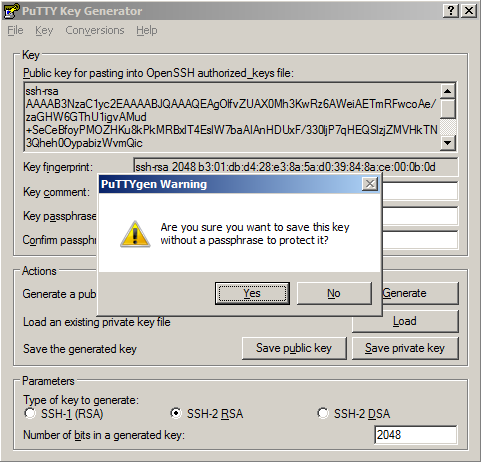
Once it's finished, click the Save private key button, select Yes when it asks you to save the key without a pass phrase.
Name the file and save it in your chosen directory. I saved mine as C:\private_key.ppk.
The private key file needs to be available on the Continua CI Server. We recommend naming the key with a name that matches the use of the key as defined in the next section. For example, if you are using the key as a deployment key on bitbucket, then name it something like bitbucket_deploy_owner.ppk - this will make life easier when it comes to selecting the correct private key file to use on your repo.
Step 3.) Storing public key on the SSH Server
If your repository resides on a hosting website like codebashq or bitbucket, you'll need to follow their guide on how to add a public key to your repository hosted there. Bitbucket have a guide here.
If your repository is hosted on a machine which you have SSH access to then you will need access to it through a username and password. For machines using OpenSSH or a common variant, the public key you generated above will need to be put in the authorized_keys file. You can create (or find) that file in the .ssh directory of the home directory of the user you logged in, eg. /home/username/.ssh/authorized_keys
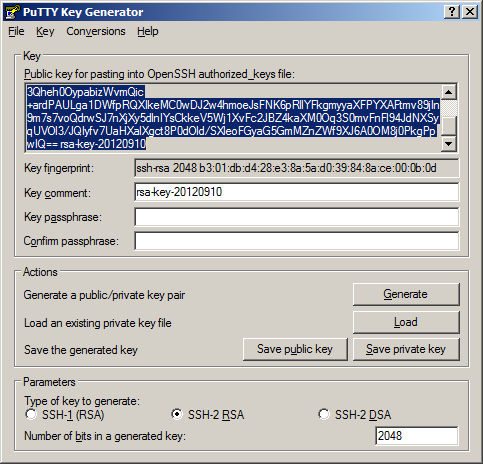
The public key needs to be in a format recognized by your SSH server. If it's the common ssh server (OpenSSH) that comes with *nix variants then the format you want is what PuTTYgen.exe outputs in the field "Public key for pasting into OpenSSH authorized_keys file:"
Paste it into your authorized_keys file and save it.
Step 4.) Configure your Mercurial Repository in Continua CI
Private Key File
Fill in the full path to your private key file. The file must be on the same machine as the Continua CI Server Service, and accessible by the Service User.
SSH Command
Continua uses TortoisePlink.exe (included with the server installer) for ssh tunnelling. The SSH Command is the command passed to hg.exe when running over ssh. The default command is setup for using a private key :
"#plink# -ssh -2 -batch -C -i ""#PrivateKeyFile#"""
If your remote repository uses username & password authentication over ssh rather than a key pair, change the SSH Command to this :
"#plink# -ssh -2 -batch -C -l #UserName# -pw #Password#"
The SSH Command includes tokens that are replaced at runtime :
#PrivateKeyFile# - replaced with the Private Key File property.
#UserName# - replaced with the UserName property.
#Password# - repaced with the Password property.
#plink# - replaced with the PLink version selected.
PLink Version
This defaults to the server property Server.PLink.Default (TortoisePlink.exe) - you can add support for other versions of PLink by adding server properties with a namespace of "Server.Plink".