What is a Configuration?
Configurations are the defining component of Continua CI. Configurations contain all information that a build needs to run. They can be considered the blueprints for a build.
Each configuration can only be linked to one project and each build can only be linked to one configuration.
Configurations contain the following information which is then used to execute a build:
- Build Stages and Actions: Every action that a build executes is defined on the configuration in the action workflow.
- Repositories: Any source code that is required for your build actions must be linked to the configuration.
- Triggers: Configurations determine how builds should be automatically triggered and built.
- Build Event Handlers: Tasks can be defined to handle specific events during the build process.
- Conditions: Conditions allow you to specify rules that determine whether certain builds should be executed and when they will be executed.
- Security: User security can be applied to each individual configuration so that you can limit which users can access which configurations.
- Reports: Link unit test and code coverage reports to each of your builds.
Creating and Editing Configurations
Creating a Configuration
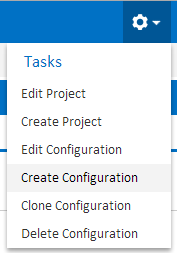
All configurations must be created under a project, so before a configuration can be created you must navigate to one of the pages under the desired project. Project pages include the project homepage, any configuration page or any build page. If the Project Search Menu at the top left of the screen has a project name displayed then you are currently in that project. Once you are on a project page you can create a configuration by clicking Create Configuration under the Tasks Menu (as shown below).
Alternatively you can create a configuration through the Finished step of the Project Wizard.
Creating a new configuration will take you the Configuration Wizard (see the Configuration Wizard section below).
Editing a Configuration
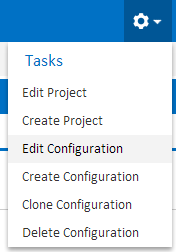
A configuration can be edited in several ways. One way to edit a configuration is to navigate to a page under the desired configuration and click Edit Configuration under the Tasks Menu (As shown below). Configuration pages include the Configuration summary pages, Configuration Wizard and any build pages.
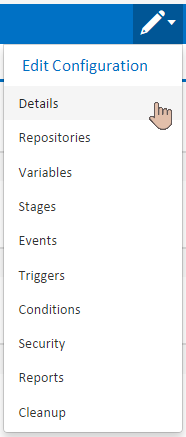
Configurations can also be edited by navigating to either the configuration summary pages or the build pages and then clicking the Edit Configuration button. This button is located next to the Run Build buttons and will bring up the Edit Configuration Menu (as shown below) which allows you to jump to a specific page in the Configuration Wizard.
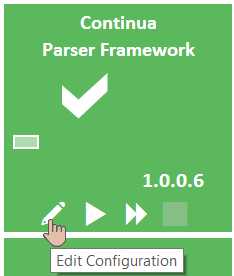
Finally, configurations can be edited through either the project dashboard pages by clicking the Edit Configuration button on the configuration. The configuration tile view is shown below.
Editing a configuration will take you to the Configuration Wizard.
Configuration Wizard
The Configuration Wizard is where all configuration settings can be set or altered.

The Configuration Wizard is broken up into several steps as seen above. This menu can be found at the top of every Configuration Wizard page.
Details
The Configuration Details step contains the most basic information that is required to create a configuration, as well as some versioning settings and options.
Your configuration will be created once the details page has been saved. All other information in the Configuration Wizard will then be applied to your newly created Configuration
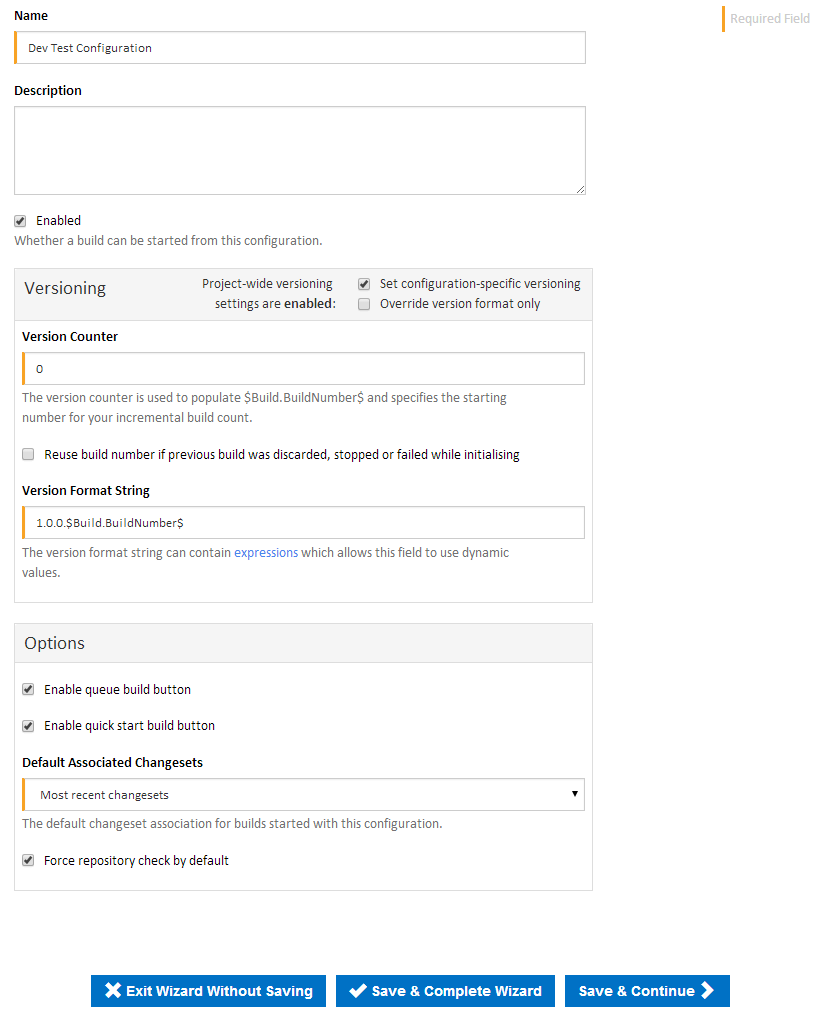
Name
The Configuration Name is used to identify the configuration. Each configuration name must be unique and should reflect the task that it will be responsible for building.
It can start with a letter, number or underscore, the rest of the name can contain letters, numbers, spaces, dashes or underscores.
Description
The Description is there to provide a brief explanation of your Configuration. This will be displayed on the configuration view page.
Enabled
Only enabled configurations can run builds. Disabling a configuration will prevent this configuration from running any builds until it is re-enabled.
Versioning
Versioning can be applied either at project level or configuration level. If project-wide versioning has been enabled, this will be shown in the heading for the Versioning section. You can then tick 'Set configuration-specific versioning' to override all the project versioning settings. There is also an option to override the version format string only, keeping the project-wide version counter.
Version Counter
The version counter is a numeric value which is incremented by one every time the Configuration is built.
This can be considered an offset for any builds created with this Configuration. For example, if you set the Version Counter to 50 then the first build will be version 1.0.0.50, the second build will be 1.0.0.1, etc.
By default this is set to 0.
Reuse Build Number
Ticking the "Reuse build number if previous build was discarded, stopped or failed while initialising" checkbox will cause the version counter to be decremented if a build was discarded by a configuration condition, or was stopped or failed while initialising.
The build number will not be decremented if the build failed or stopped while it was queued or running. It will also not be decremented if the version counter has been incremented by another build for this configuration which has started in the meantime.
Version Format String
The Version Format String sets how each build should display its version. For example, the default Version Format String is set to 1.0.0.$Build.BuildNumber$ (The $Build.BuildNumber$ expression will substitute for the Version Counter value at runtime). This means that all builds for this configuration will have the following versioning:
- 1.0.0.1
- 1.0.0.2
- ...
- 1.0.0.7548, etc.
Say you are about to start work on version 1.1 of your project. All you would need to do is set your Version Format String to 1.1.0.$Build.BuildNumber$ which will then produce the following versioning:
- 1.1.0.7549
- 1.1.0.7550, etc.
Expressions and Variables can be used in the Version Format String. This allows you to include dynamic values into your versioning.
Options
You can specify which start build buttons are displayed and the default build settings here
Enable queue build button
You can choose to disable the queue build button. This will ensure users always use the quick start build button on this configuration and run builds with the default options.
Enable quick start build button
You can choose to disable the quick start build button. This will ensure users always use the queue build button on this configuration and can see all options and variables.
Default Associated Changesets
Specify whether builds on this configuration will, by default, list all changesets since last successful build or only the latest changeset
Force repository check by default
You can choose to switch off repository checking when a build is manually started. This is useful if you know that you already have the latest changeset and want to speed up build initialisation
Repositories
The Repositories step allows you to link Version Control Systems to the current configuration. Head over to the Repositories page for more information on creating and editing repositories.
Variables
The Variables step allows you to create and edit configuration variables. The Variables page includes an in depth guide to variables.
Stages
The Stages step allows you to specify stages, all the build actions and build workflow for this configuration.
Triggers
Triggers automate build execution. Check out the Triggers section for more information.
Conditions
Conditions allow you to specify whether a build should be run or when it should be executed. The Configuration Conditions section has more information.
Security
This step allows you to specify configuration specific security settings. The Managing Security section contains all information regarding user security.
Reports
The Reports step allows you to link reports (such as unit test reports or code coverage reports) to each of your builds. The Reports section contains all reports related information.
Cleanup
The Cleanup policy step allows you to specify how older builds should be cleaned up for this configuration. This overrides global and project level cleanup policies. See the Cleanup Policies section for more information.