...
So lets get started. Navigate to the homepage and you should see your project and configuration tile. When you hover over this tile, you will notice that actions appear along the bottom of the tile, as seen below. The action we are interested in is the first action that looks like a pencil. This is the Edit Configuration action. Clicking Edit Configuration will take you back to the Configuration Wizard, but this time we will be editting editing our Configuration rather than creating a new one.


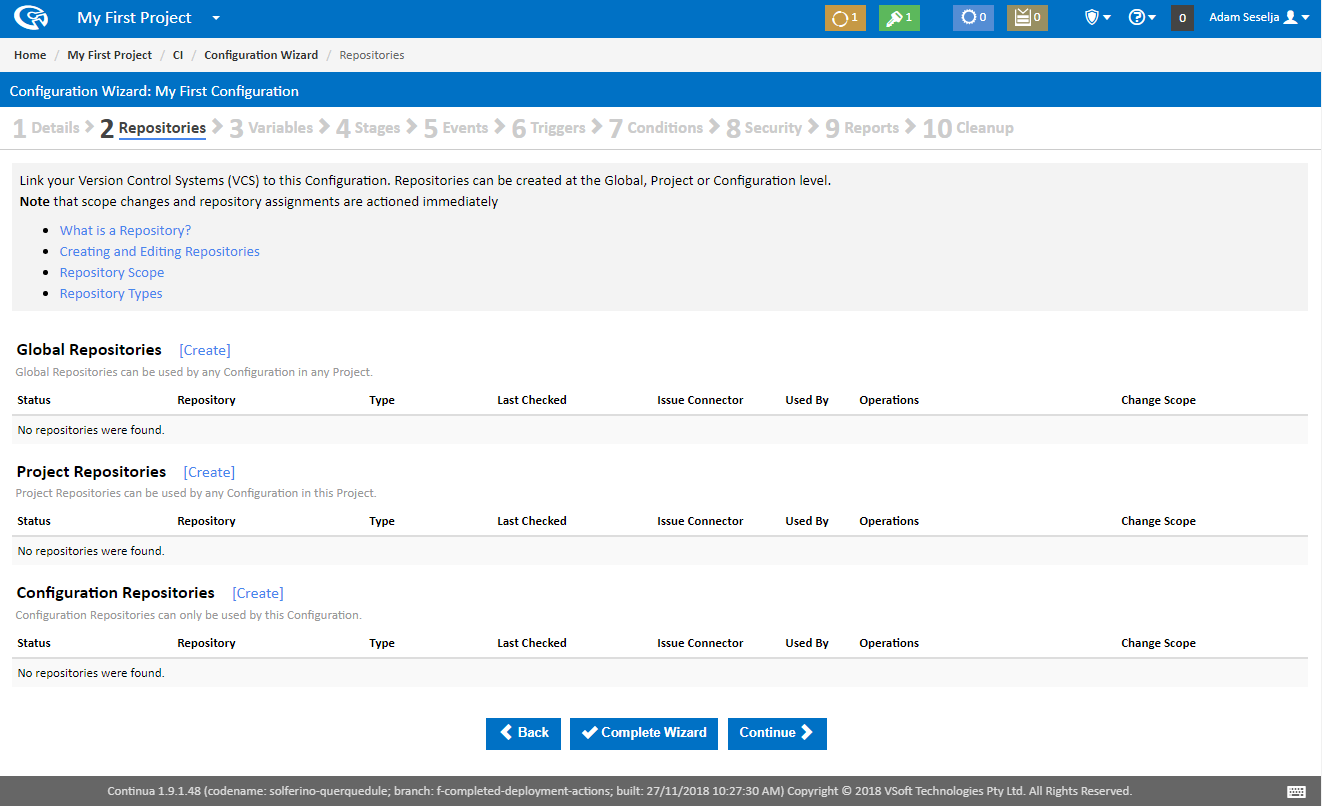
Along the top of the Configuration Wizard you will see a whole bunch of steps that will add various elements to your Configuration. These steps are a quick way to navigate between the various aspects of a configuration. Once a Configuration has been created, you are free to move between these sections in any order. The order presented is just a representation of the steps needed to get a build up and running.


For now, Let's look at the Repositories section.
...
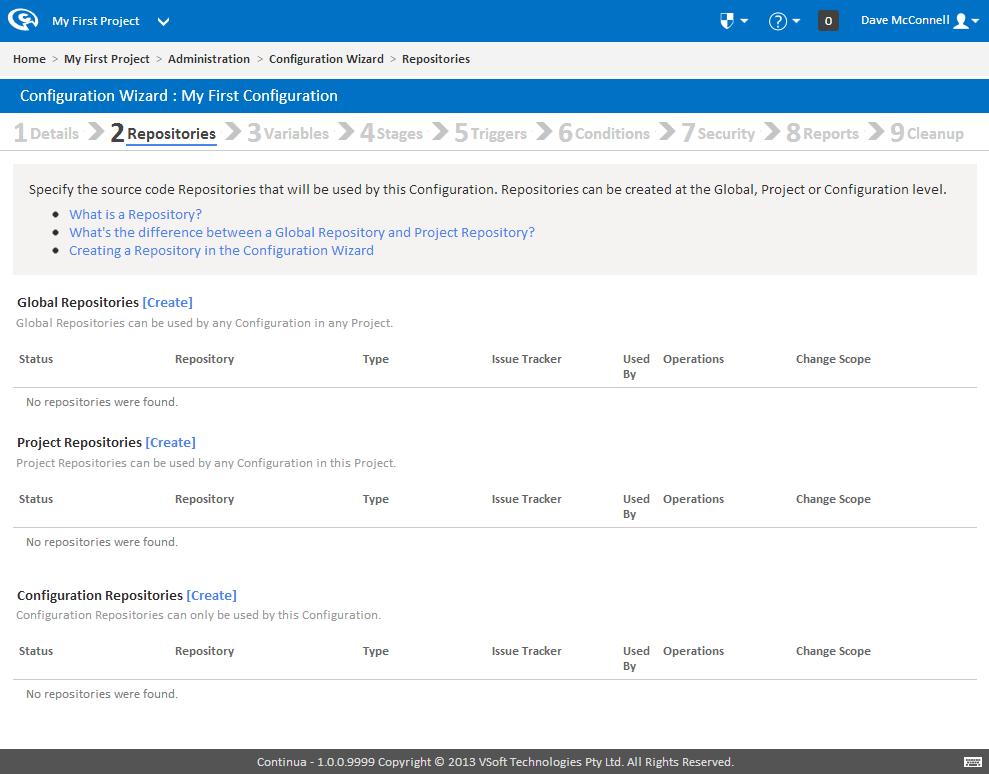
For this tutorial we will be adding our repository as a Configuration Repository. This means that only this configuration will know about this repository and no other configurations will be able to access it.
Create Repository Dialog
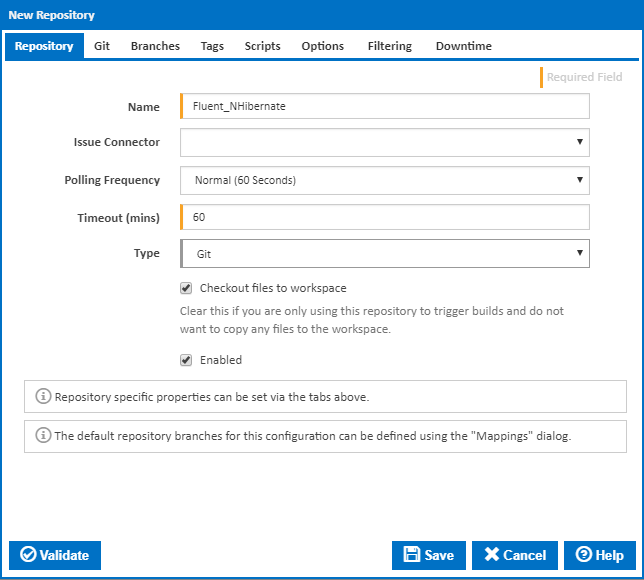
So lets create our repository by clicking the Create link next to Configuration Repositories. This will bring up the Create Repository dialog as shown below.
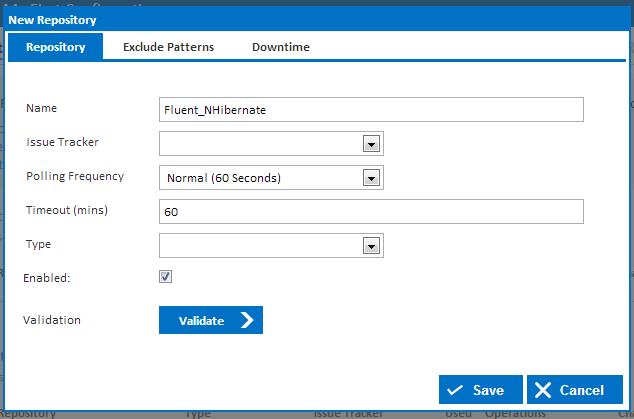
The Create Repository Dialog dialog allows you create or edit a repository and apply all settings that you will need to connect to your repository. There are plenty of options that you can include when creating a repository, however these will not be covered in this tutorial. For more information, check out the Repository Types.
...
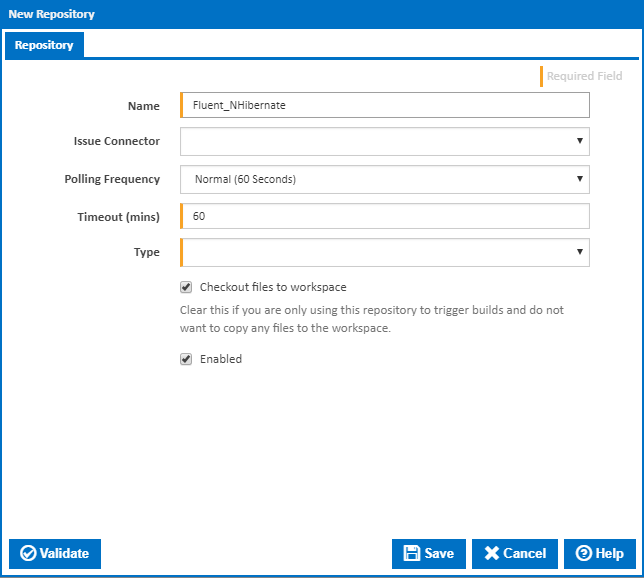
For this tutorial we will be creating a Git Version Control Repository so lets select this in the Type dropdown. Once Git is selected you will see additional tabs appear at the top of the dialog expand, as seen below:
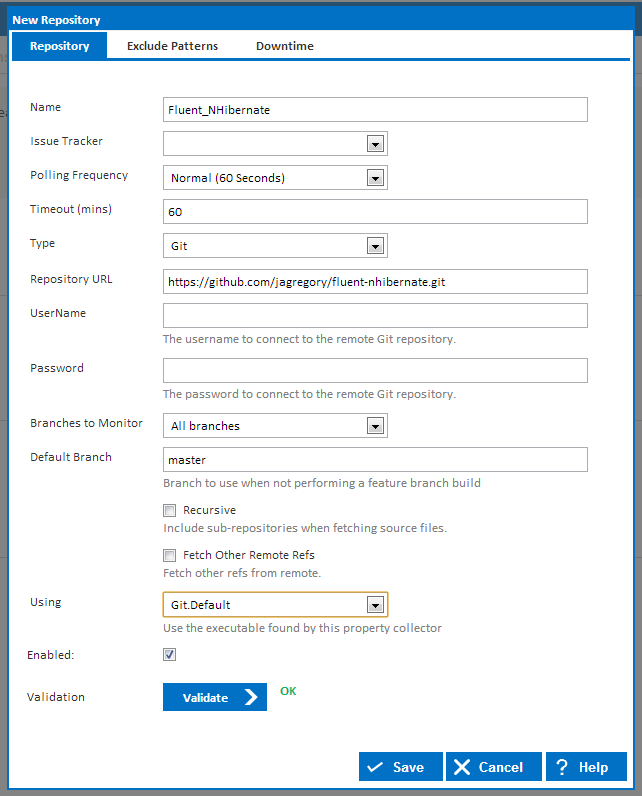
You can see that the dialog now incorporates fields that are specific to Git. For this tutorial, we can leave all the fields to their default values and set the Name to Fluent Fluent_NHibernate and the the Repository URL to to https://github.com/jagregory/fluent-nhibernate.git. The Repository URL should point to where your Git repository is hosted. In this case we are pointing to the Fluent NHibernate repository on GitHub.

The Using property is used to tell Continua which version of Git it should use when retrieving your repository. This Using property uses property collectors to point Continua to the correct application it should use when performing a task. Unless Git was installed in a non-standard directory, the default Git.Default Property Collector should find your installed copy of Git. If Continua cannot find your copy of Git then a new property collector will need to be specified in the administration section.
...
Once saved, the repository will be added to the Configuration Repositories like so:


Congratulations, you have successfully added a repository to our configuration. Now every time My First Configuration is run, Continua CI will get the latest source from GitHub and use this code to run its builds.
...
Continue to Part 4: Create your First Action